
Are you looking for some simple and fun Valentine’s Day DIY craft ideas that you make for loved ones?
Here are 5 beautiful and useful DIY crafts that you can make yourself and also with your children and make Valentine’s Day extra special
Bottle Art
Kanchan Yadav teaches us how simple it is to make beautiful bottle art from spare glass bottles.
Material list
- Bottles
- Gesso Sponge
- Spray paint or acrylic paint
- Ribbons
- Cork light
- Painting brush
Watch the video
Kanchan Yadav is the founder of Artsy Craftsy. For her leaving a mainstream job and choosing art as a career was not easy but determined to make it her full-time profession she kept exploring and expanding. Creative and business aspirations met together and that’s where Artsy Craftsy took shape as a full-fledged business.
Heart-shaped Clay Chime/Wall Decor
If you love creating stuff with clay, then this Valentine’s Day Craft Idea is for you. Mitchell Singh shows us how to make a beautiful heart-shaped chime or wall decor piece. You may add designs and colours as per your choice
Material list
- Fevicryl Mould It
- Fevycril 3d outliner
- A thread or a rope
- Talcum powder
- Fevicol
- Scissors
- Paint Brushes
- Sharp cutter /knife to cut the clay
- Acrylic colors
Watch the video
Mitchell Singh is a Hotel Management graduate and worked in the hotel industry for 12 years before quitting the industry finally to follow her passion of art and craft. She is now slowly growing as an entrepreneur and has been making a lot of art. She also takes classes
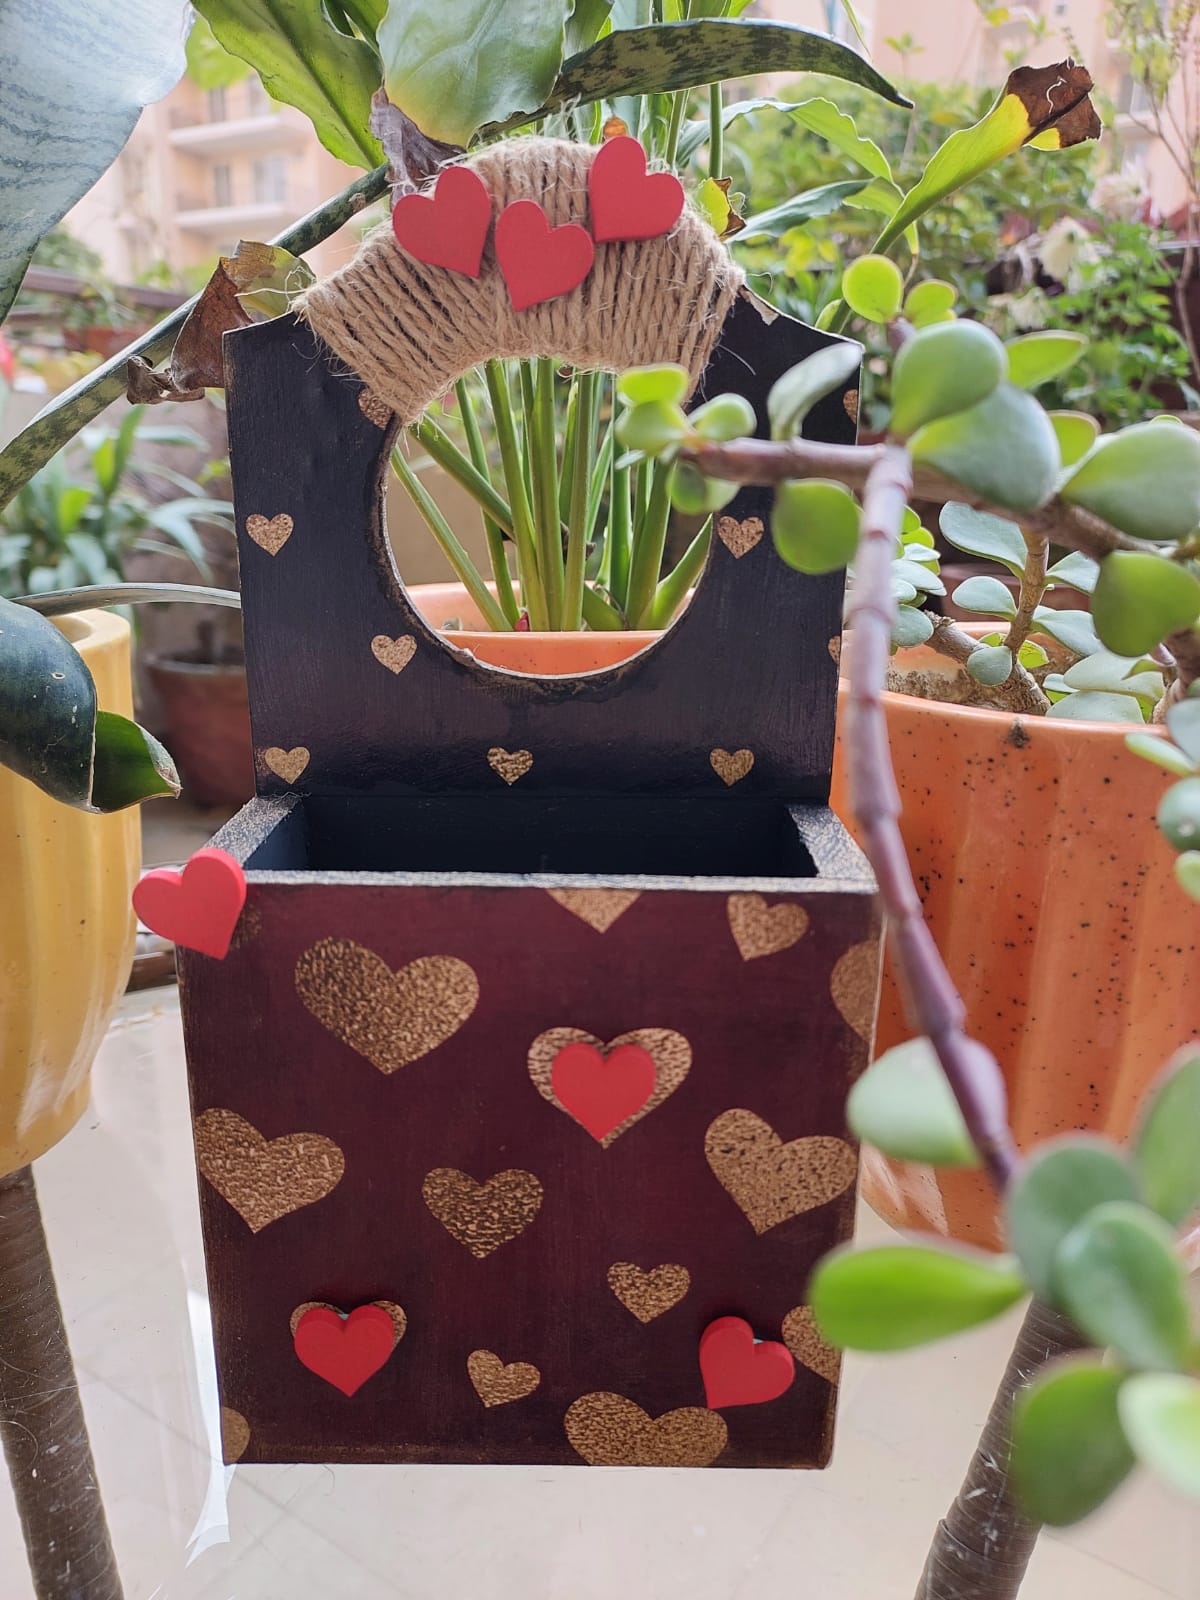
Mobile Holder/ Multipurpose Caddy
It’s always fun to be creative and make something useful as well. Mahima Suri shares steps on how to create this beautiful mobile holder or multipurpose caddy . You may again opt for the colors and sticker design as per your choice.
Materials needed:
1.Wooden/MDF/Metal base
2. Decoupage paper
3. Mode Podge Glue or Fevicol
4. Acrylic paint (black and gold)
5. Paint brushes
6. Coir rope
7. Decorative wooden hearts (available at stationery shops)
8. Art Varnish (available in stationery shops)
Steps:
1. Cut the paper to size as per the base.
2. Stick the paper on the wooden base and rub it with a soft cloth so that it sticks to the surface completely.
3. Paint the edges of the base using black acrylic paint. Give it 2 coats. Once the paint dries, using a finger, rub golden paint over the black paint and the edges of the entire holder.
4. Paint the inside of the base with black paint.
5. Once dry, give a coat of mod podge/fevicol all over the paper on all sides. Leave it to dry.
6. Once completely dry, take the coir rope and tie it at the top and seal it using fevicol and leave it to dry.
7. Once dry, stick the wooden hearts as per your liking.
8. Give 2 coats of varnish to seal in the paper and paint.
Mahima Suri is a banker by profession, a single mum to a 7-year-old but a creative person at heart with interests in gardening, traveling and learning various arts and crafts. During the lockdown in 2020, she decided to learn a new art and was eager to learn Decoupage. Took to YouTube and started her journey.
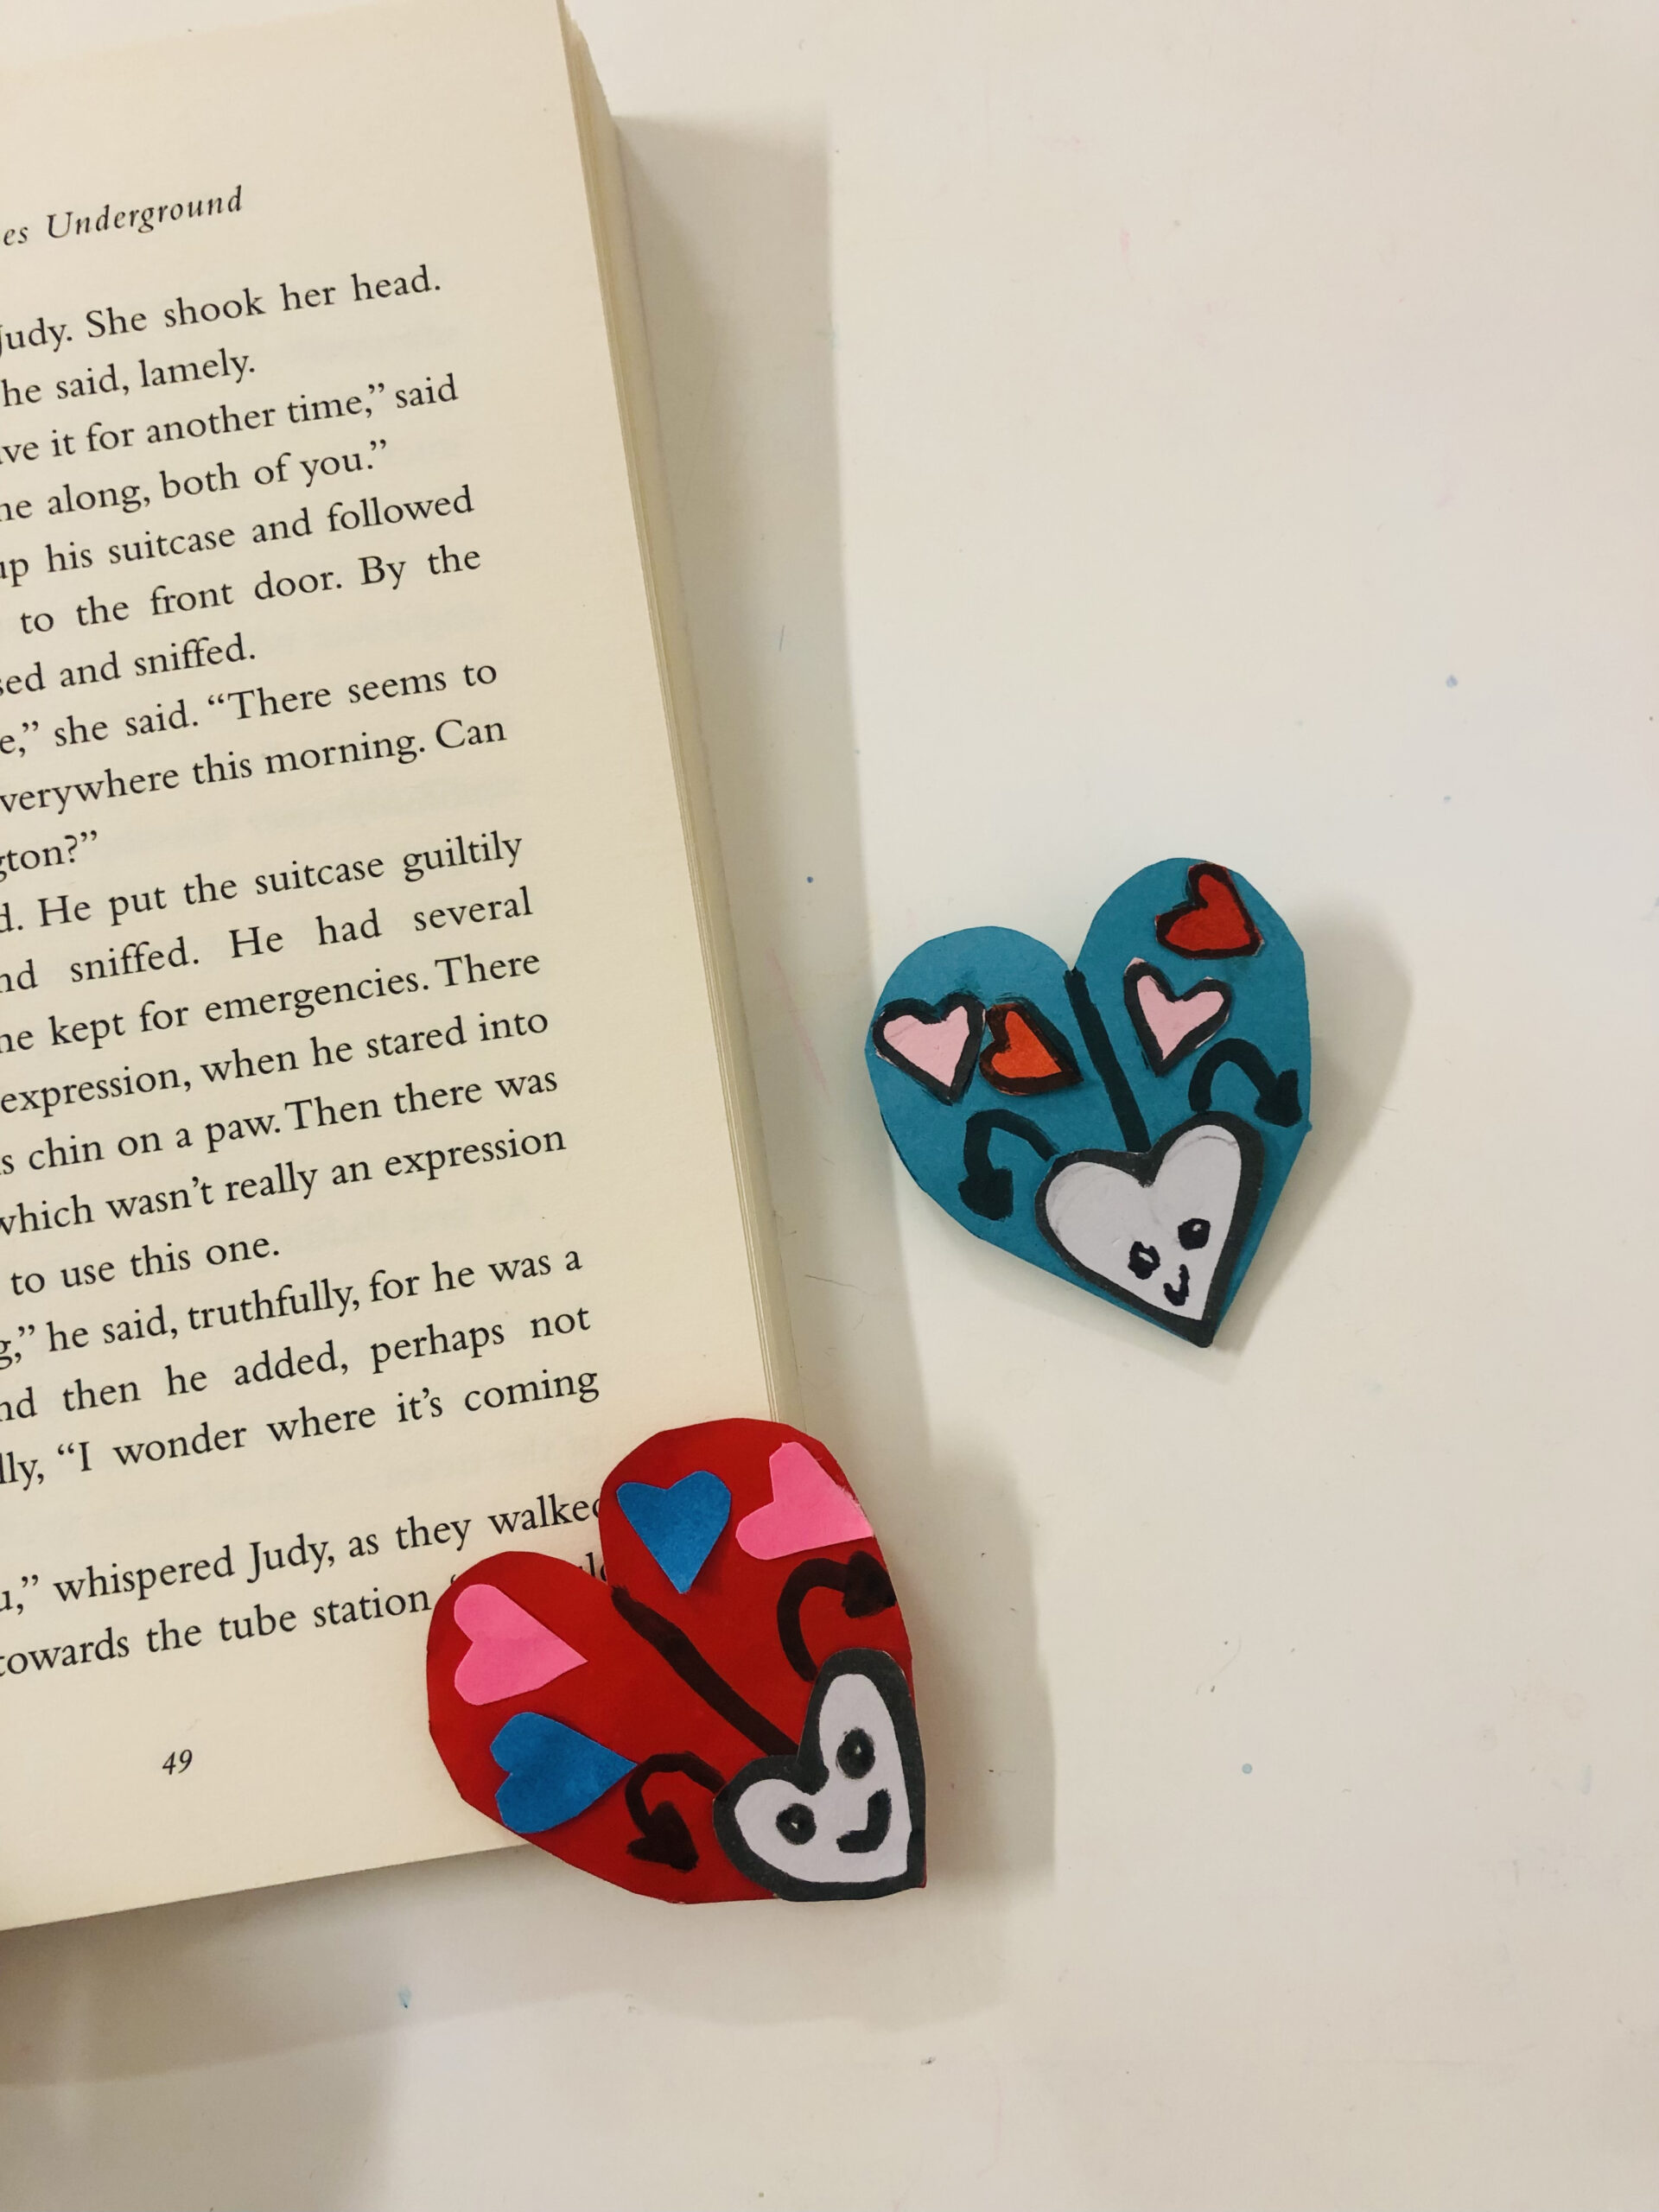
Lovebugs Corner Bookmarks
If your kids love to read then these Valentine’s Day bookmarks by Roopika Sareen Akthar and her children are the DIY
Materials needed-
- Coloured paper (any colour) 10 x 10 cm
- A few colored papers (you can use leftover paper bits, we never throw away those too!) to make decorations
- Black pen
- Scissors
- Glue

Steps-
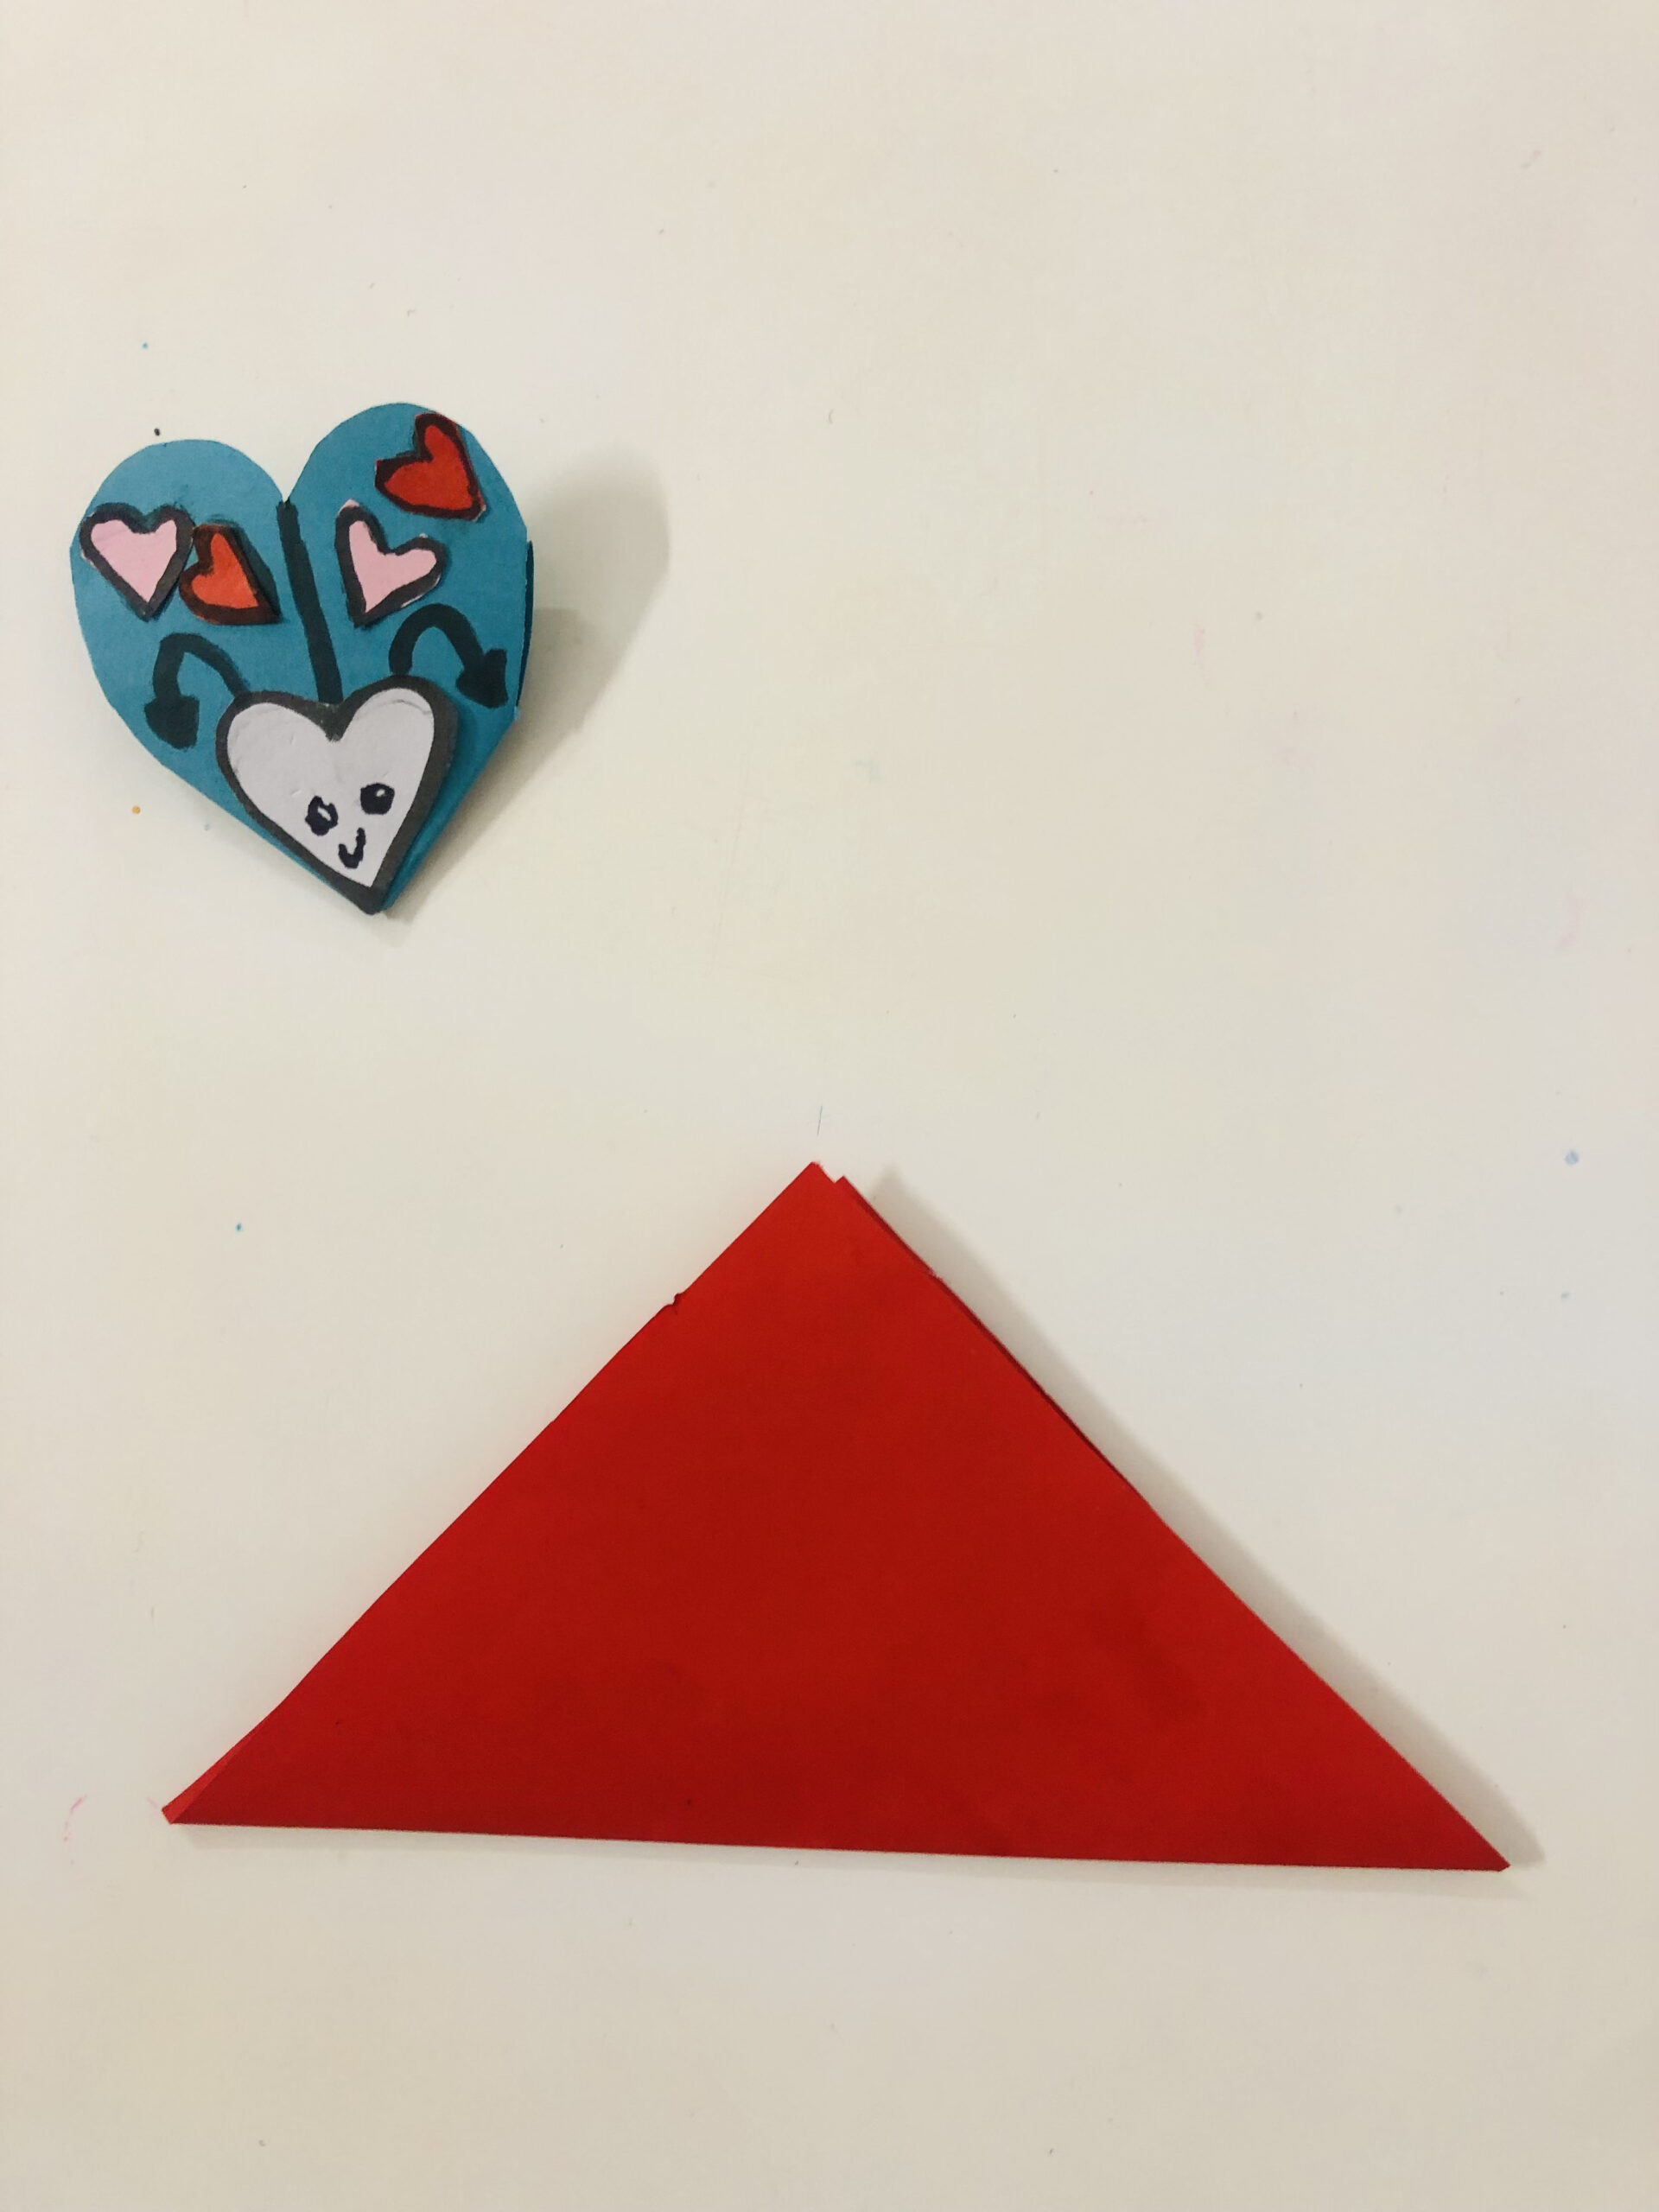
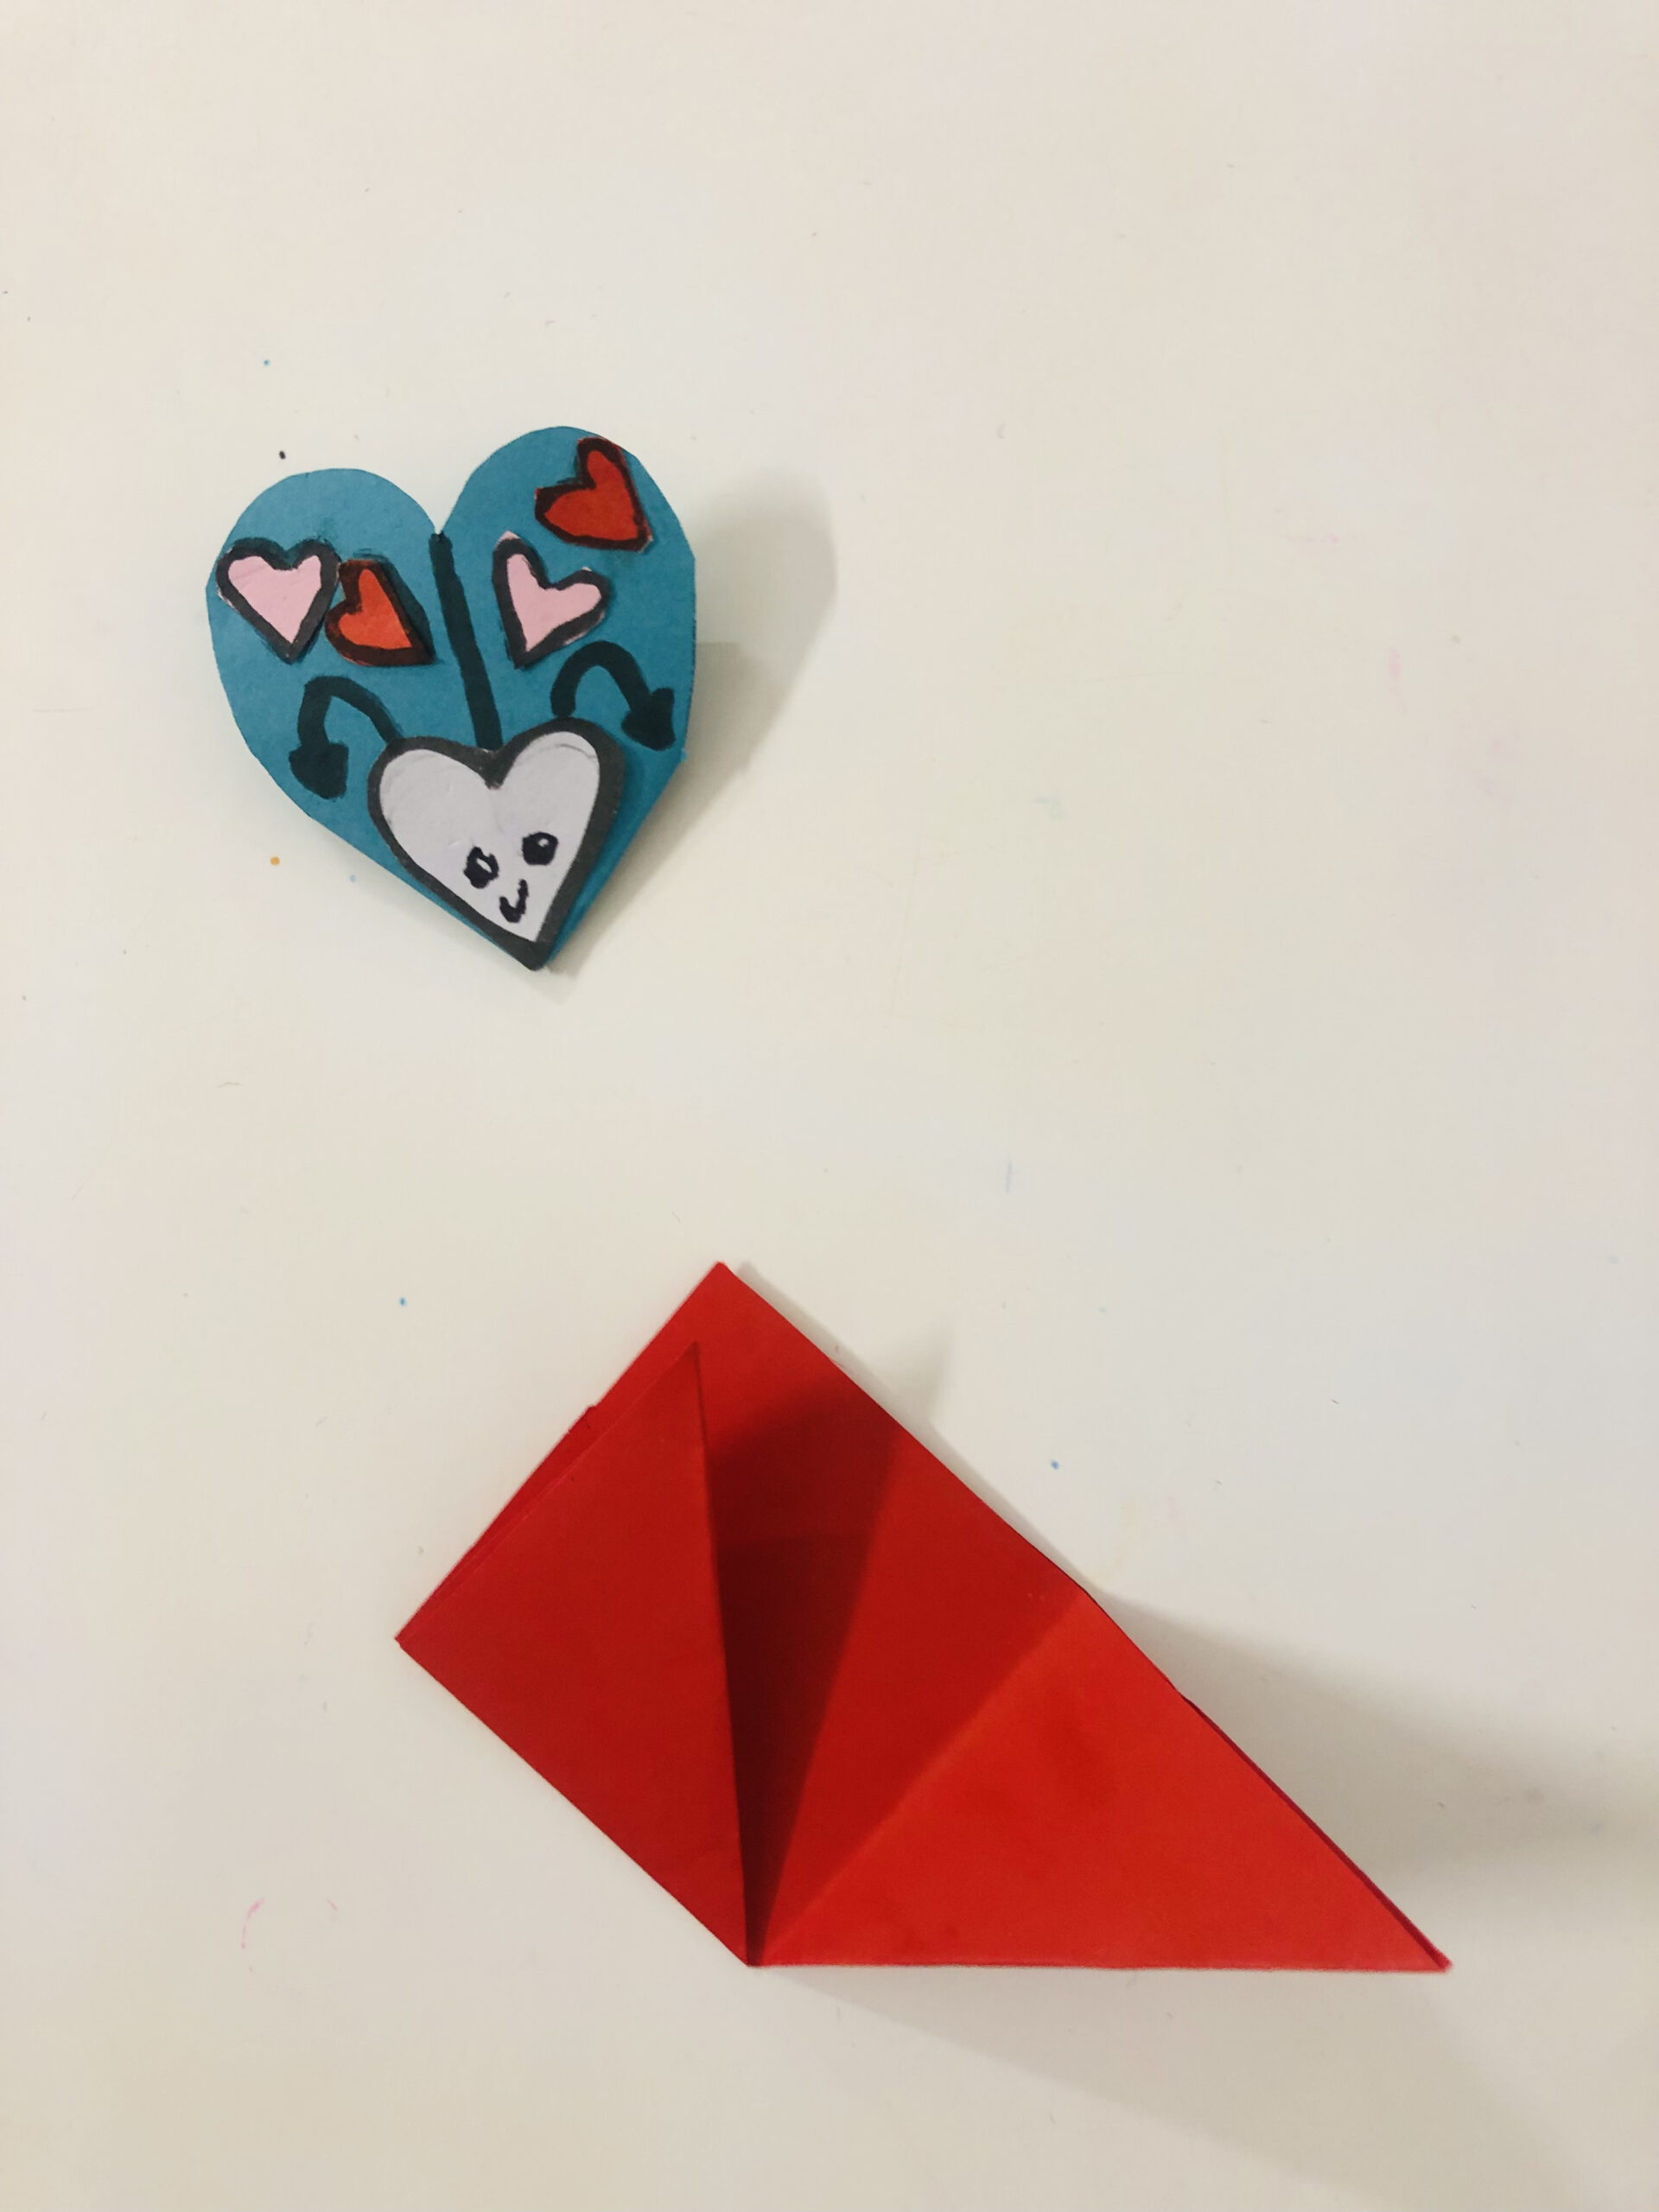
- Take a 10×10 colored paper (I picked red).
- Fold it into half diagonally in such a way that it looks like a triangle.
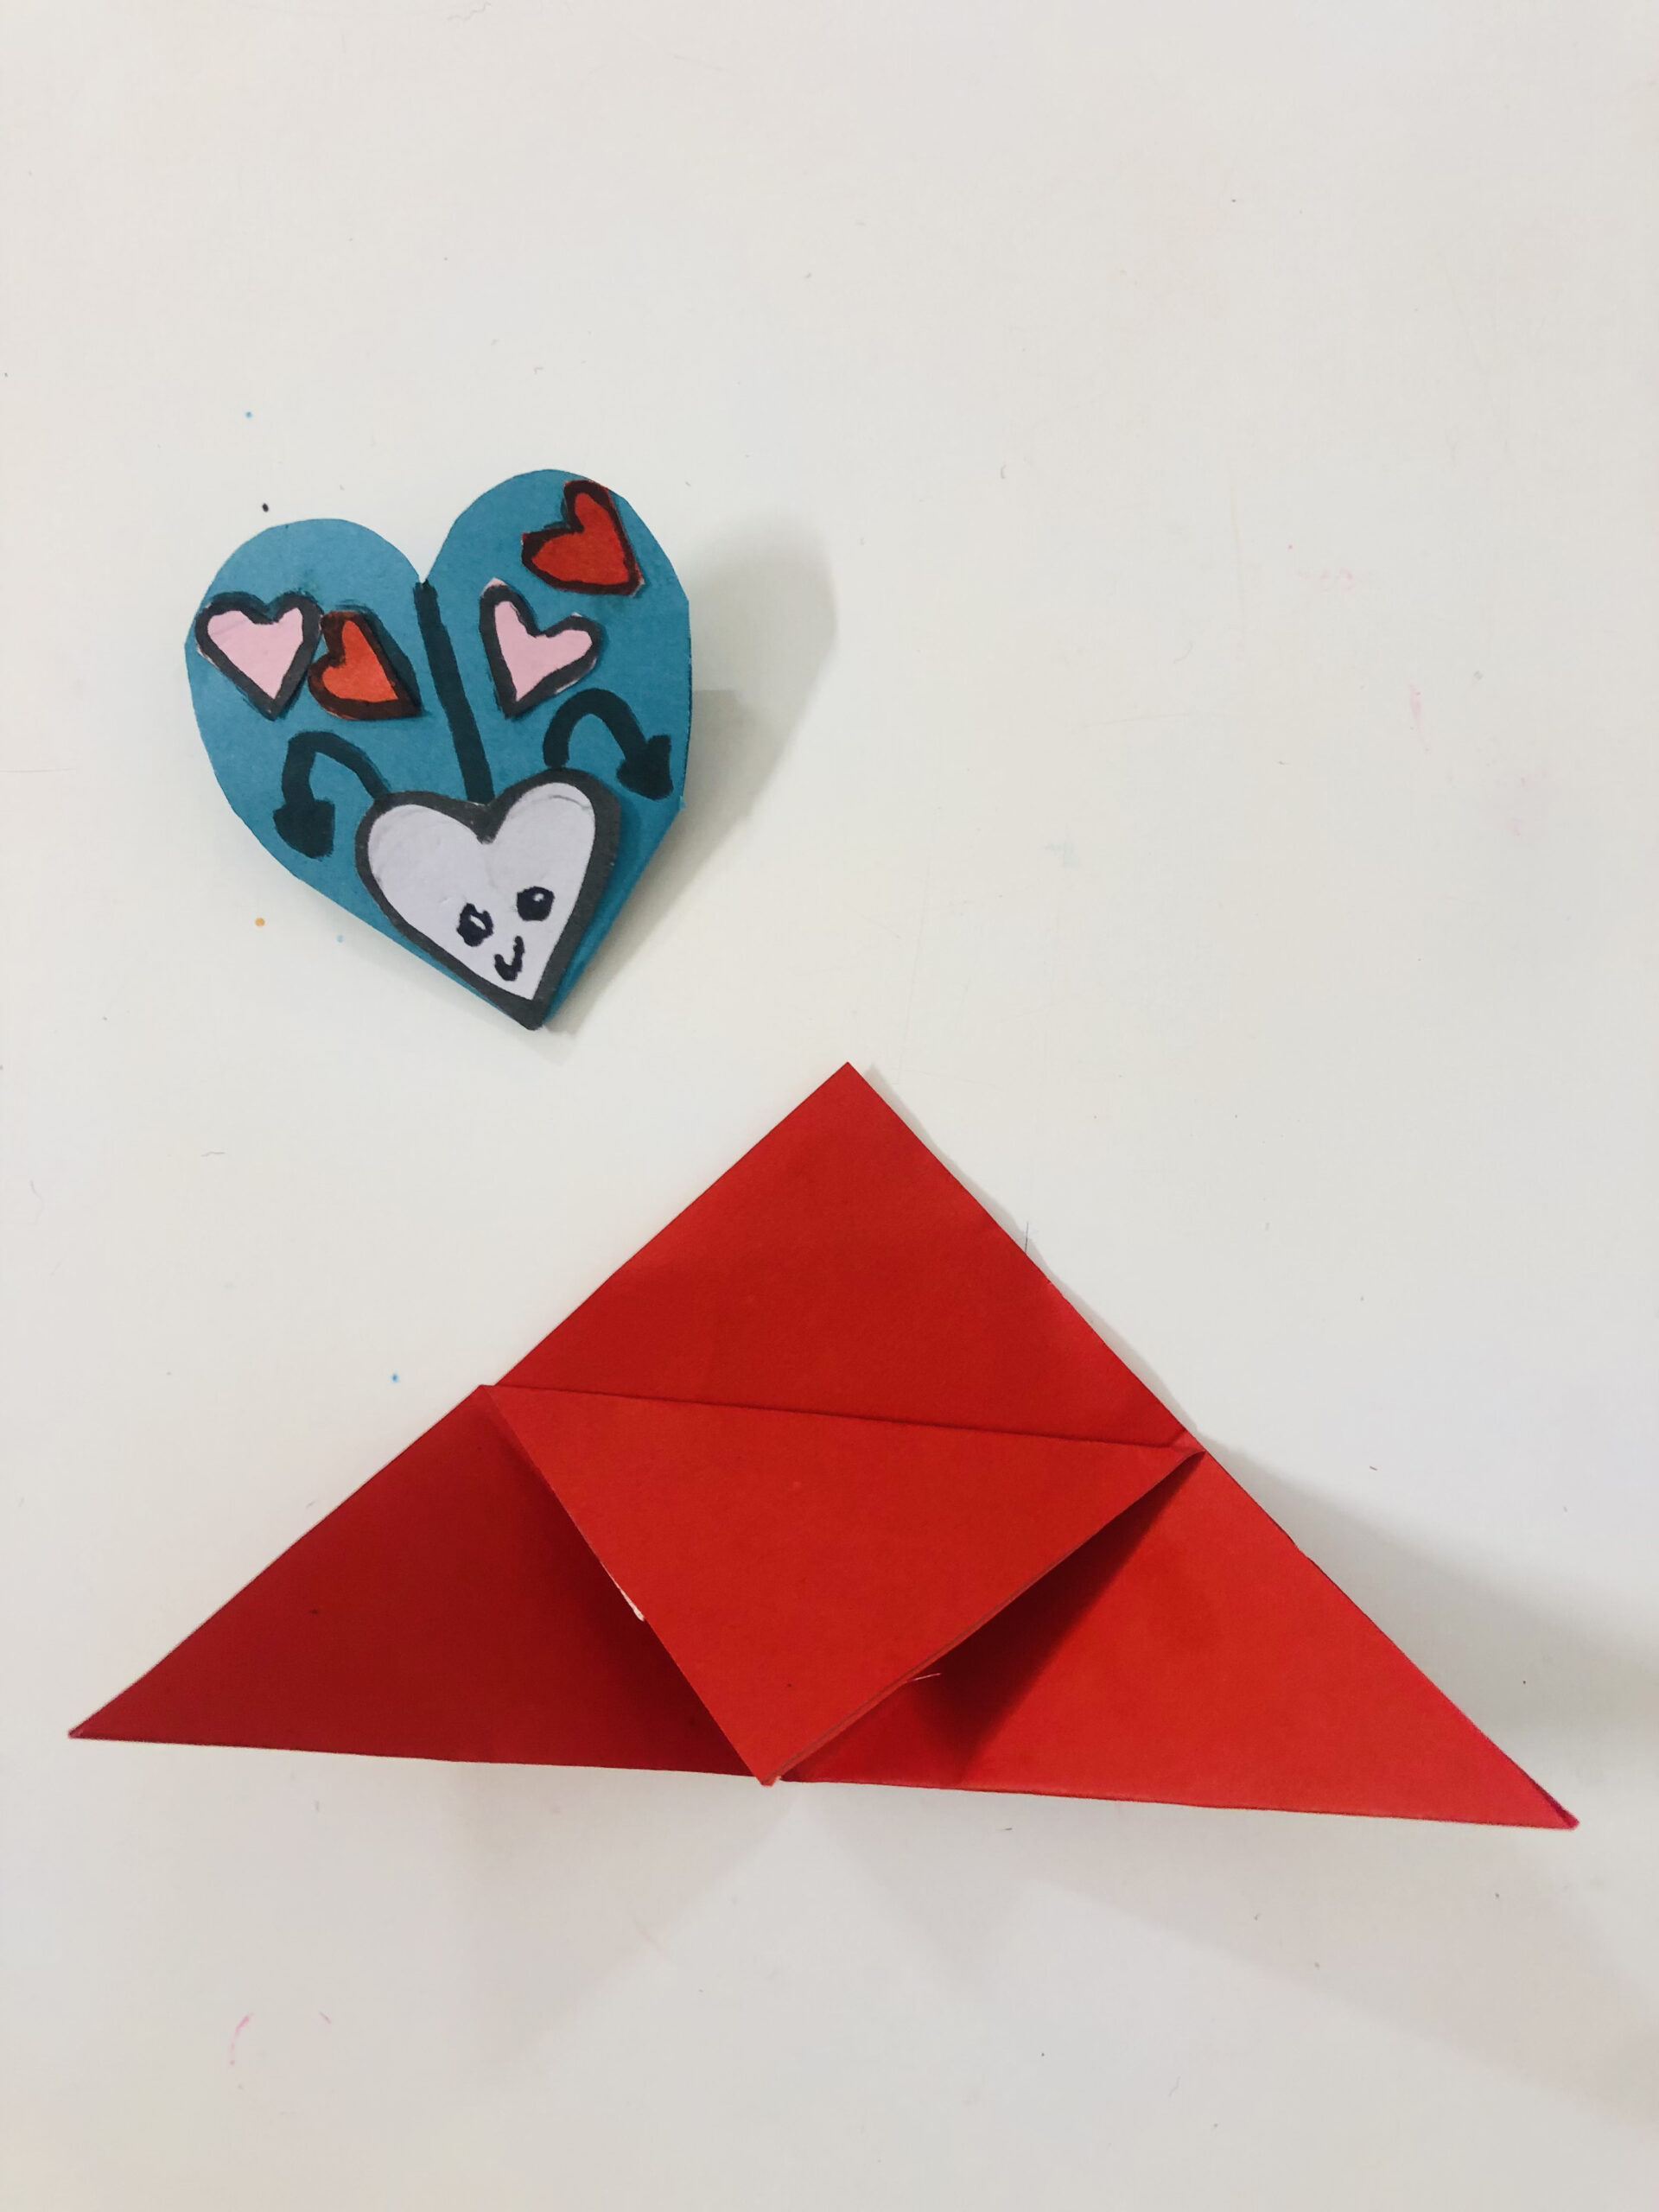
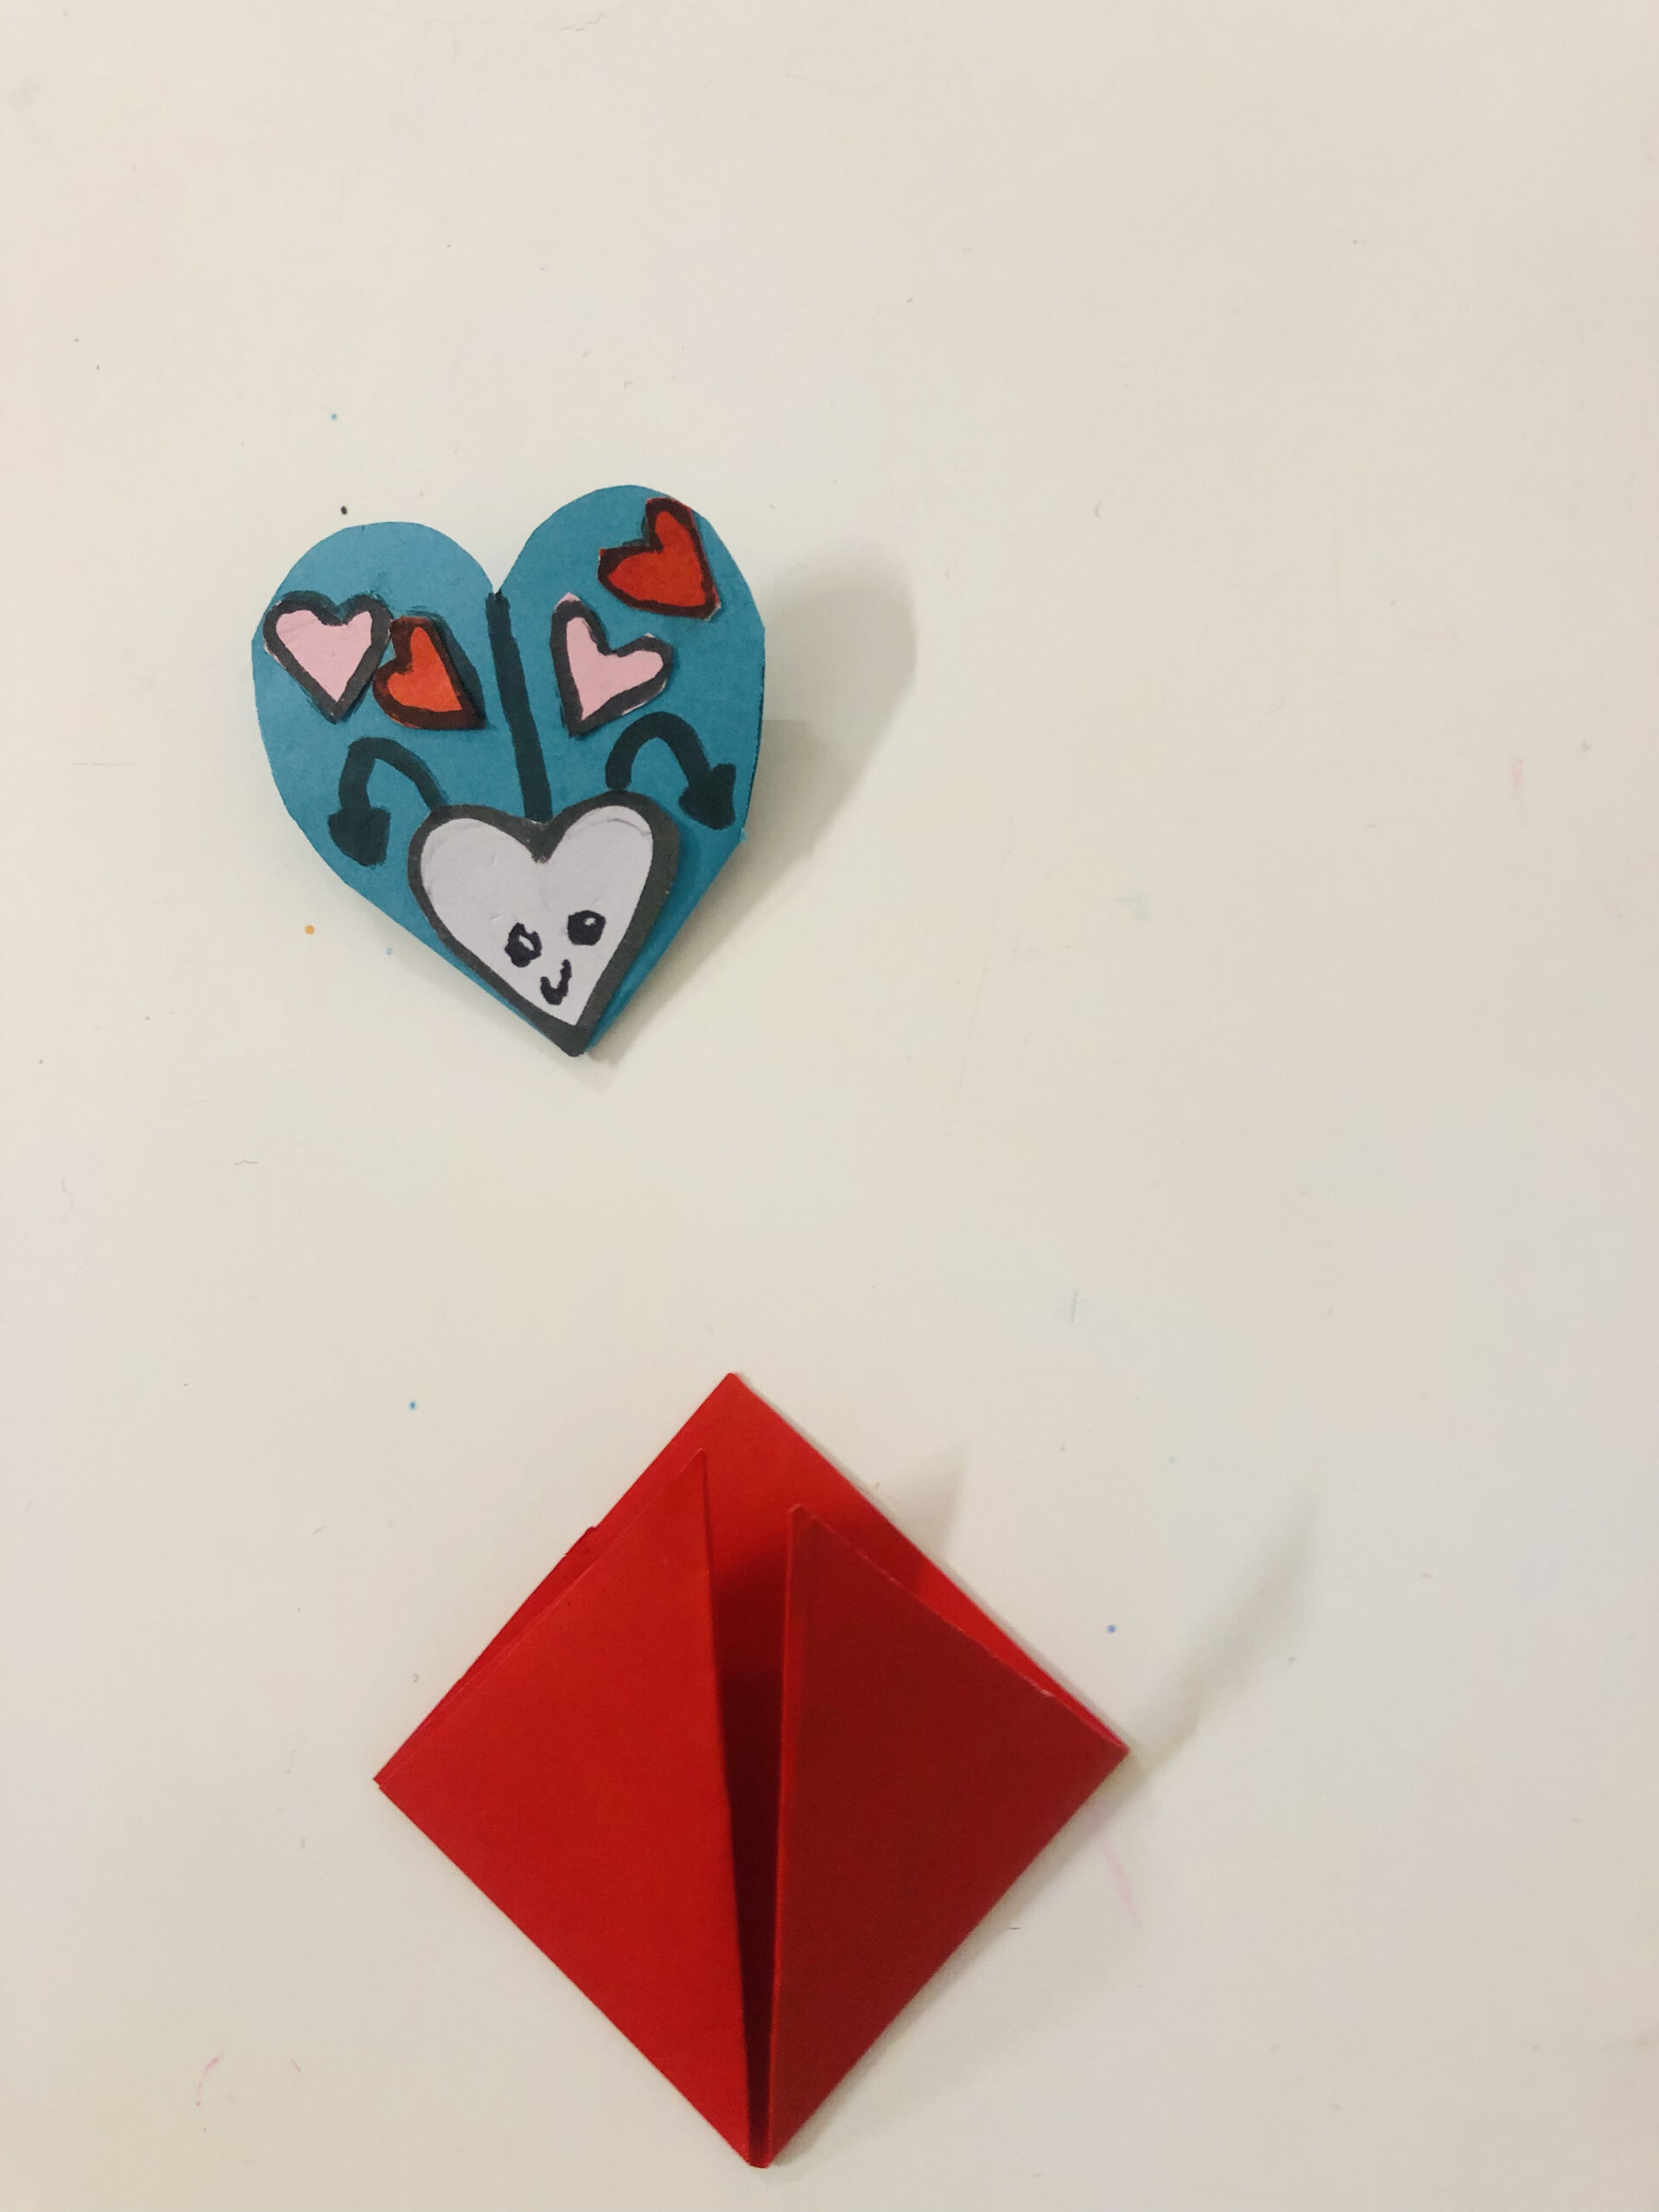
- Take one corner of the triangular sheet and fold it to meet the top corner. Repeat the same for the other corner.
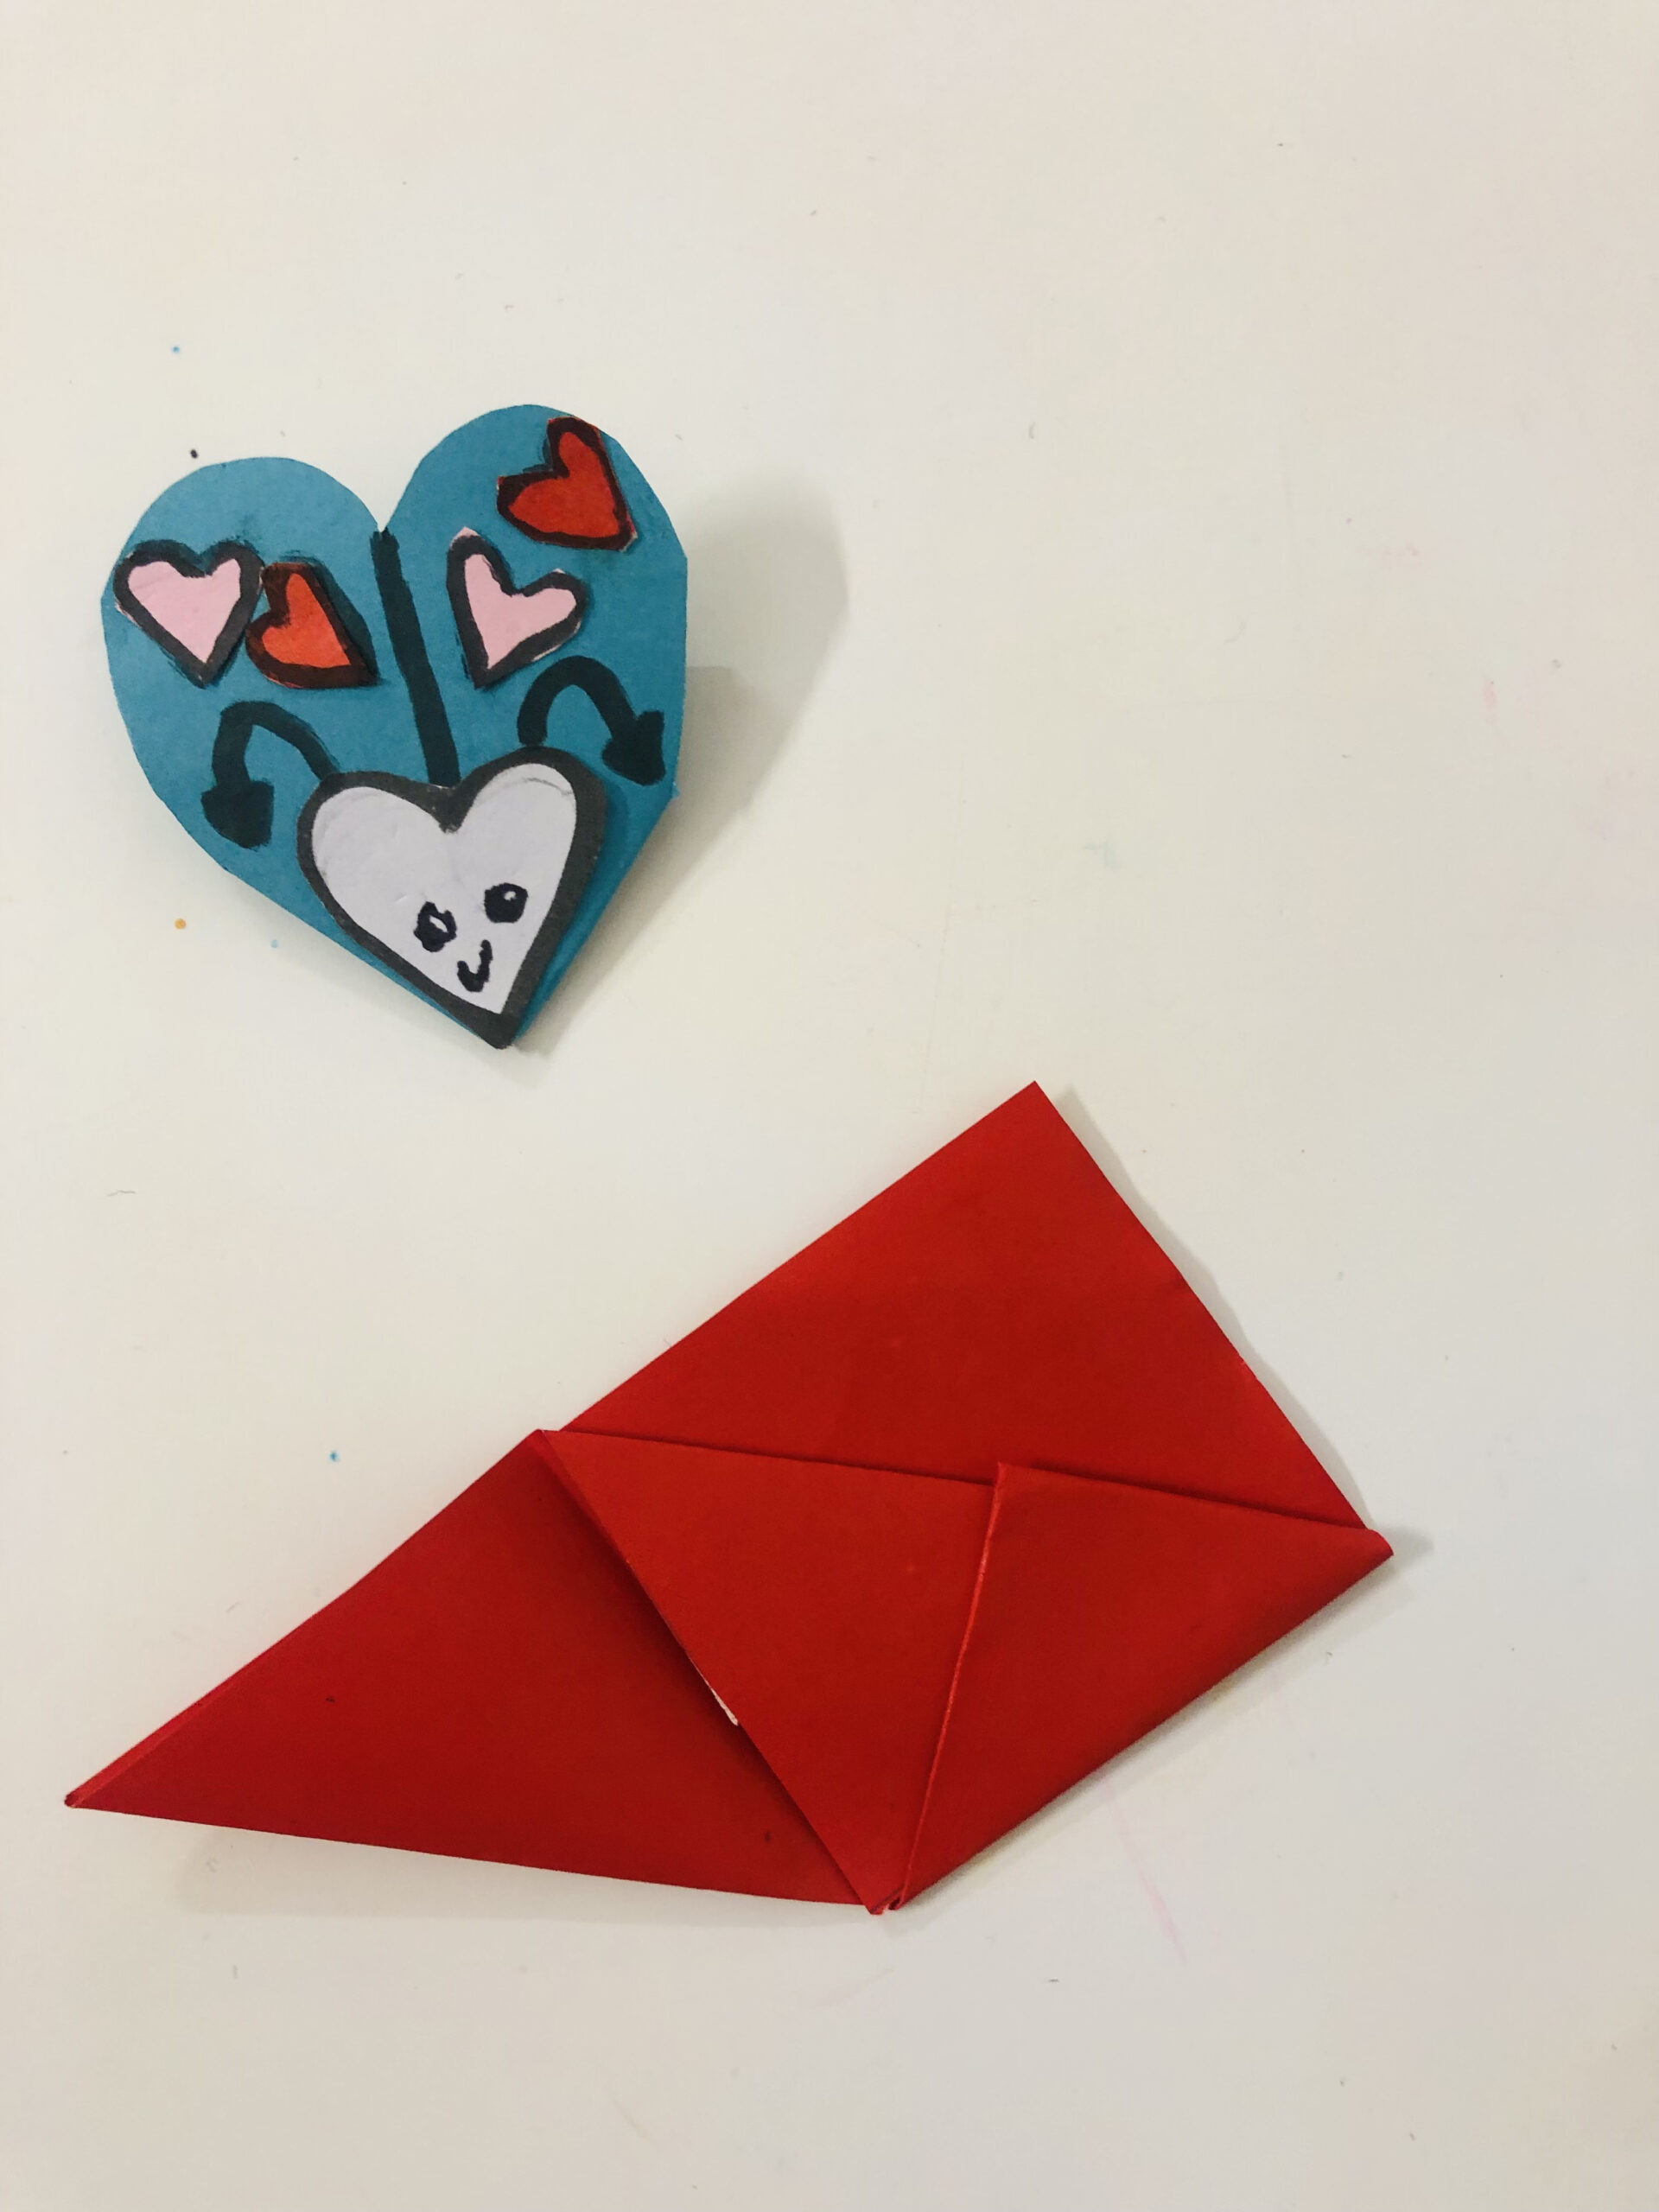
- Open the folds made in the last 2 steps and bring the top corner of the triangle towards the bottom.
- Now fold the right corner into the “pocket” created. Repeat this for the left corner.
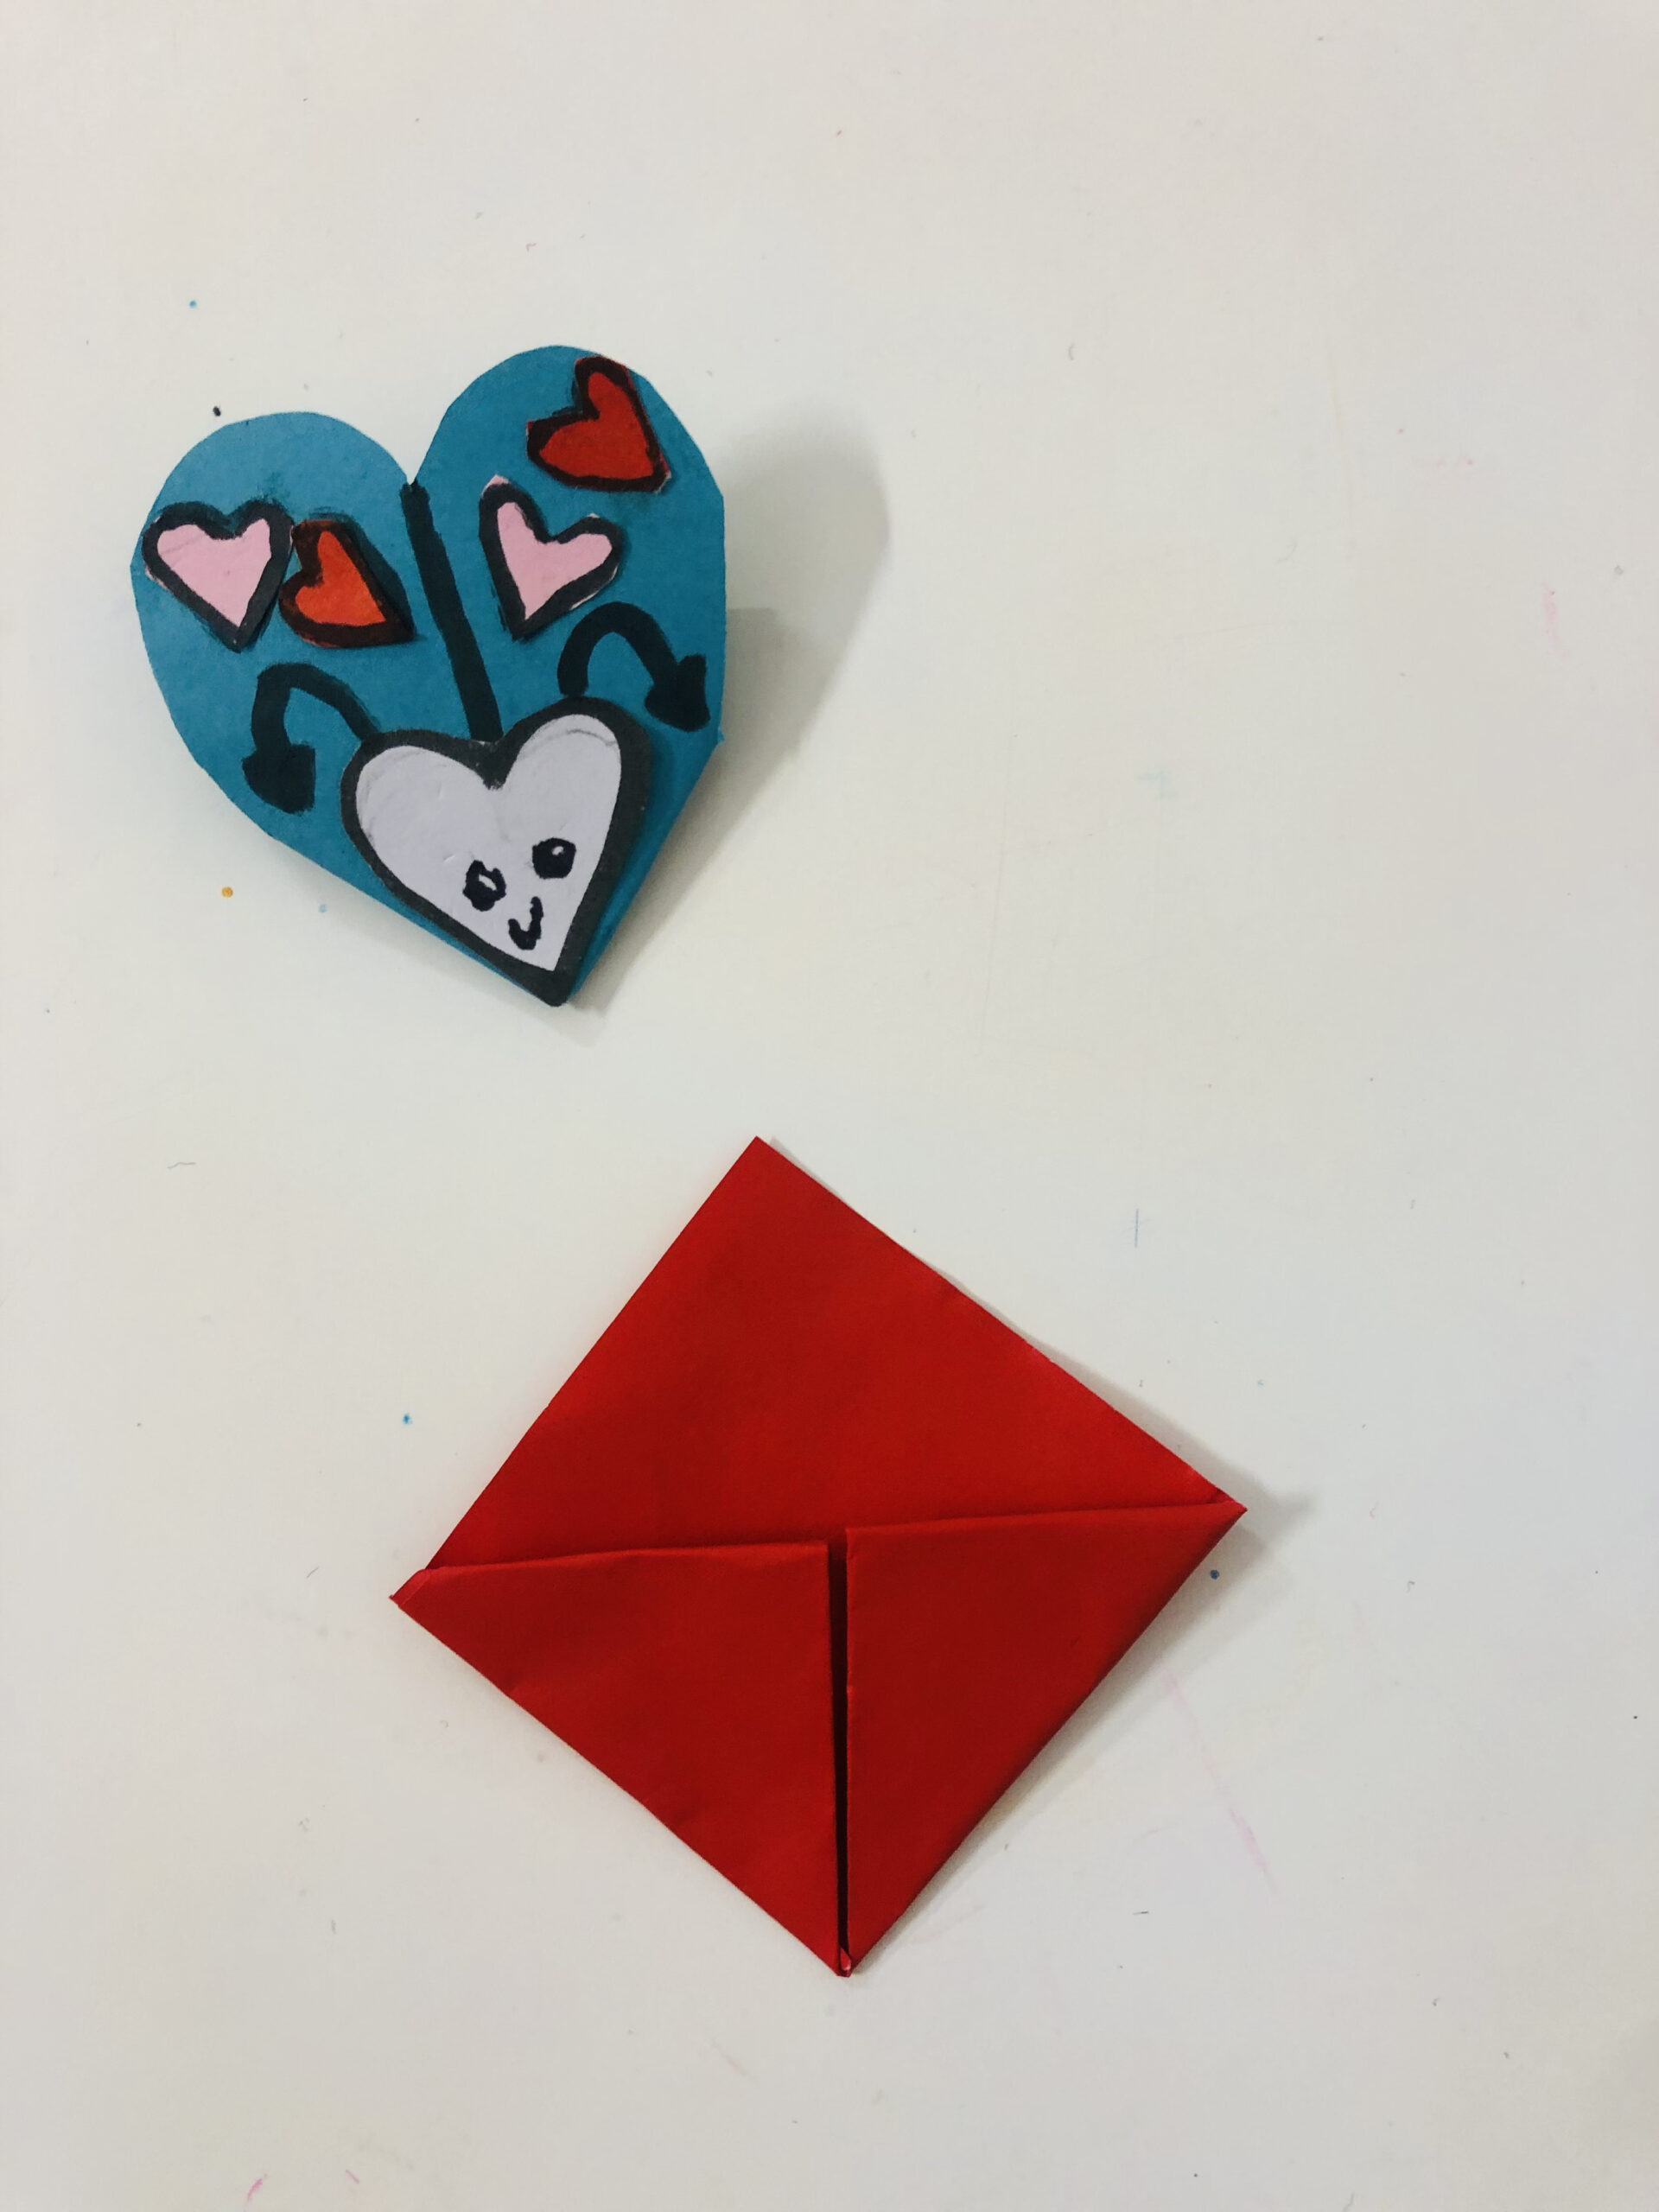

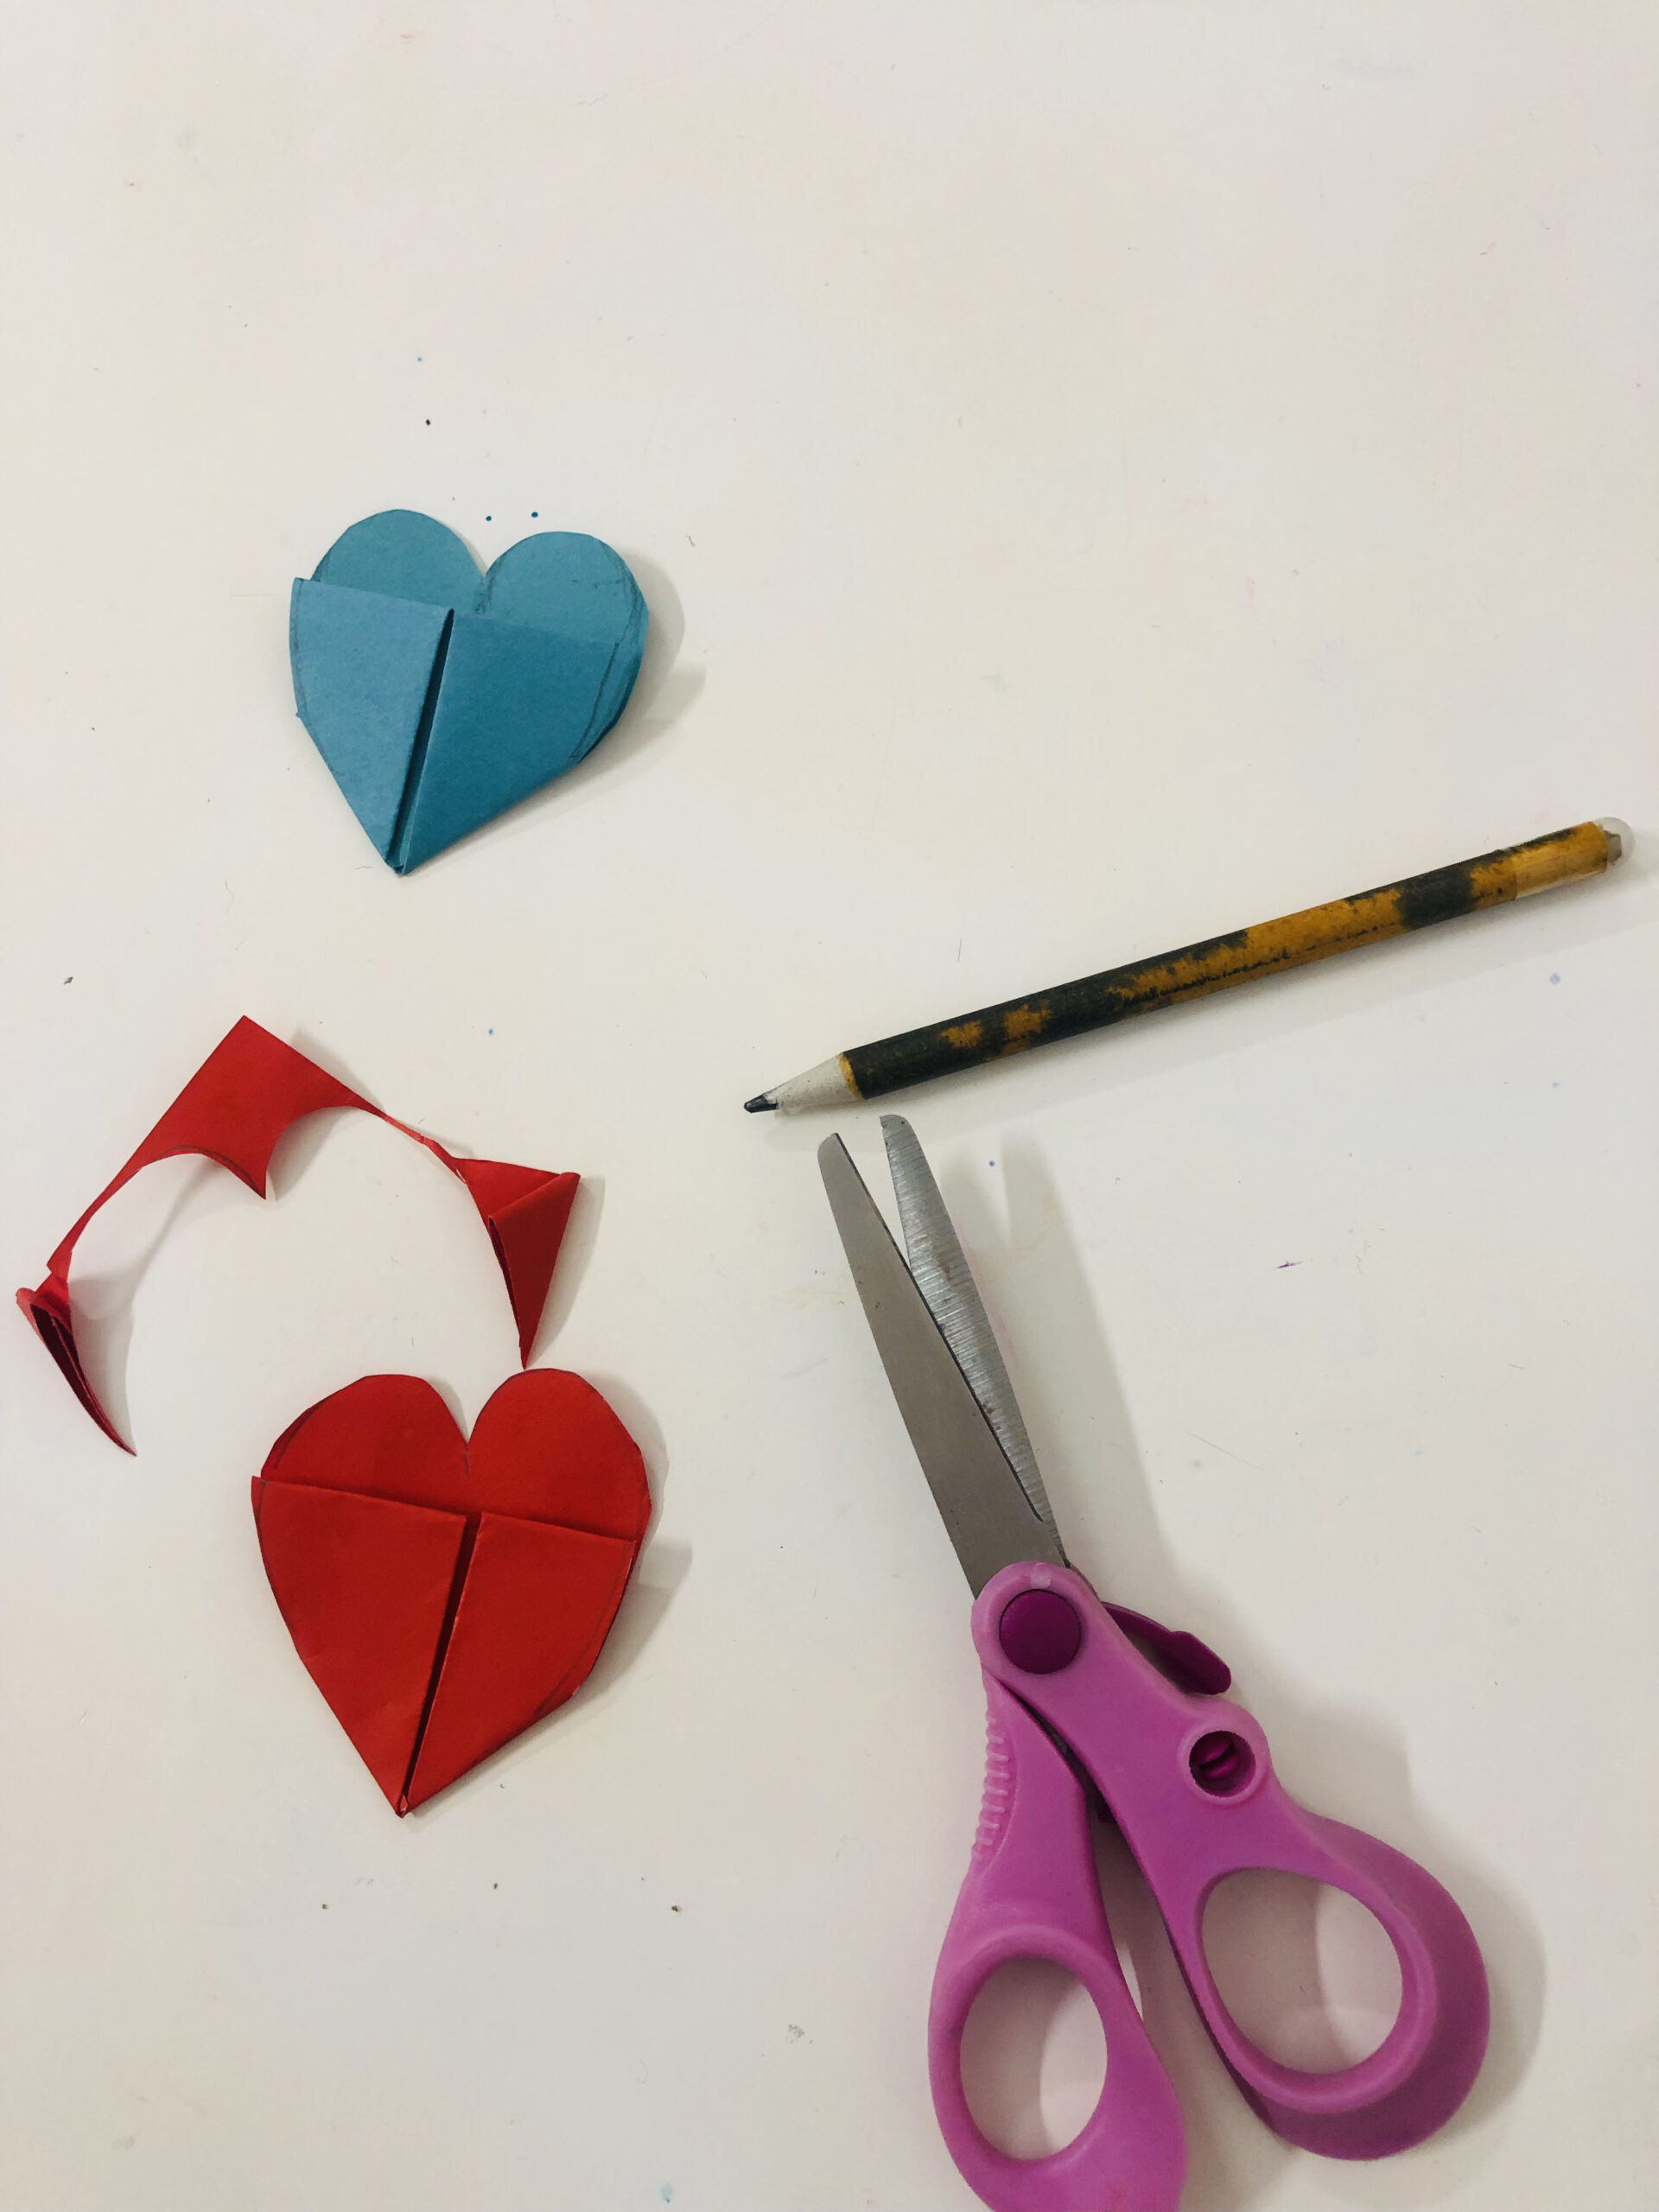

- Using a pencil, draw a heart covering the maximum portion of the paper. Cut out the extra portion of the paper
- Turn it around and make a line using a black pen or marker, representing a bug’s body.
- Using white paper, draw & cut out a heart (this will be the bug’s face). Make 2 eyes, a smile, and antennas with dropping hearts using a black pen
- Cut out small hearts from colored papers. These will be the decoration on the bug’s body. You can cut out as many and any color you wish
- Stick these on the bug’s body and our love bug corner bookmark is ready!
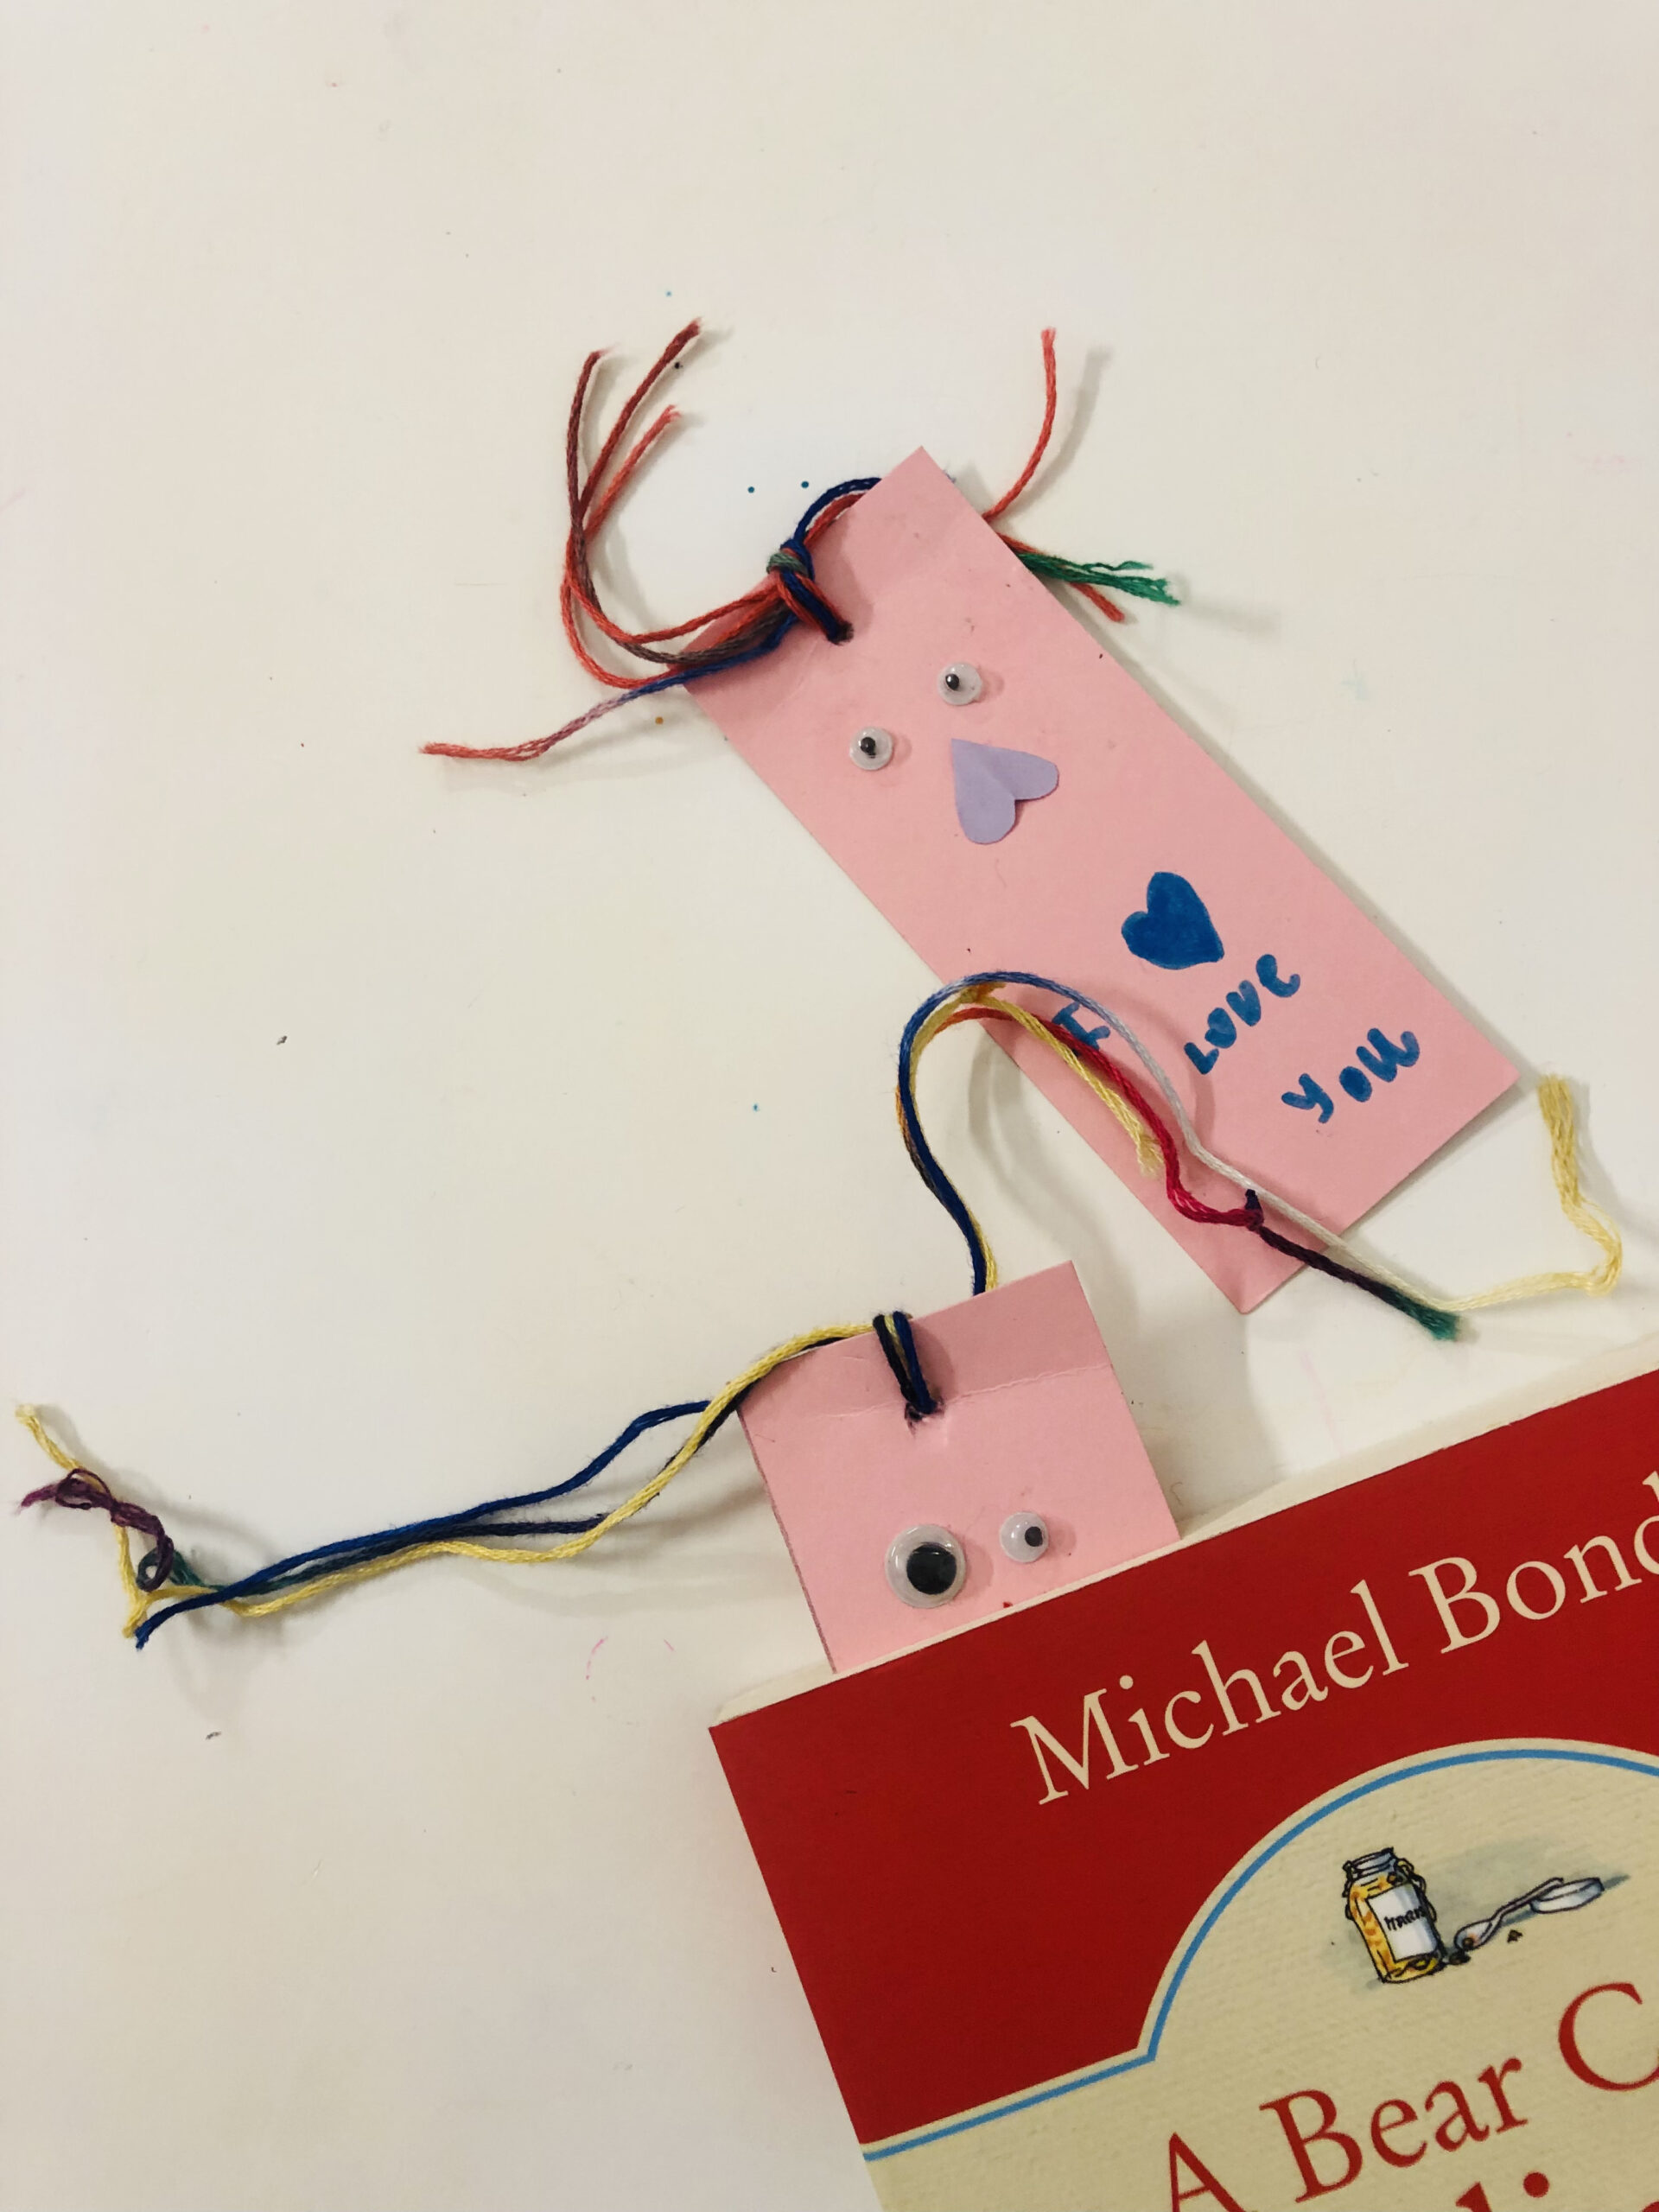
Valentine’s Day Monster Bookmarks
These are super fun little bookmarks that the kids will love to make! These little Valentine guys peek over the top of the book and look like they are watching you read!
Materials needed-
- Glue
- Colored or decorative paper (card stock for the bookmark is best)
- Hole punch
- Scissors,
- Yarn
- (most importantly) Googly eyes.

Steps –
There’s not much to the instructions.
- Cut the bookmark to the desired size
- Glue on the eyes and an upside-down heart for the nose
- Punch a hole in the top and tie on some yarn to create the hair.
That’s it! Easy-peasy, just as promised.
Roopika loves to describe herself as a caring daughter, a cool wife, a super cool mom, an ambitious professional, and most of all – a simple girl next door! She is a working mother of twins, exploring her interests that are beyond the everyday essentials, especially related to early learning and art & craft. She’s juggled through various roles as a Banker and now an Educationist along with her Blogging and Modelling dreams. She shares her experiences and learnings through her blog Go Mommy)


